Radiolaria are marine amoebae which construct “shells” or “houses” out of silica which is essentially glass. These shells are some of the most beautiful objects in all of nature. They are also some of the most frustrating to the amateur photomicrographer. Some of them look like elegant, miniature, toy tops and many demonstrate radial symmetry. Diatoms have a similar “shell” composition, but they, in general, tend to be flatter. The thickness and the refractive character of radiolarian shells present major challenges when photographing them. Usually only well-equipped specialists are in a position to study the living organism and so when I mention radiolaria in the article, I shall be referring only to the shells. The shells have many pores through which the amoebae can project pseudopodia which sometimes look like simple needle-like spikes, but which in other circumstances can form an intricate net-like matrix. There are thousands of species of these remarkable organisms and they are as mysterious as they are beautiful. To get an idea of their remarkable structure–admittedly in a somewhat stylized and romanticized form–look at the splendid drawings of radiolaria by Ernst Haeckel in the book which Dover Publications recently printed. This volume is a classic; it is wonderfully printed, very affordable, and should be in the library of anyone interested in radiolaria.
Problems in Digitally Photographing Radiolaria
1) Basically, you are trying to photograph a minute glass shell on a glass slide, with a glass cover slip, by using glass (and sometimes fluorite) lenses. With many objects, it is highly desirable to have a mounting medium with a refractive index very near that of glass, but not with objects such as diatoms and radiolaria. In the 19th Century, diatomists went to extraordinary lengths to produce mounting media with refractive indices higher than 1.515, even risking the deadly fumes of arsenic (realgar) to get a mountant with a refractive index above 2.0. So, basically, you have 2 choices: 1) Use a mountant with a high refractive index which increases resolution but loses some contrast. There a number of such synthetic mountants, but they are sometimes difficult to obtain and are quite expensive. 2) You can go with a mountant with a lower refractive index and increase contrast, but you will lose some resolution. If you have some washed, concentrated specimens, you can experiment with various mountants making strew slides.
2) Strew slides of these shells can present special problems of their own. In both making my own and in looking at some slides which I obtained from a specialist, I observed that it is very easy to use too much mountant. The reason is obvious; if you use too little mountant or one that is too thin thus allowing the cover glass to apply pressure, you are very likely to crush many of the shells. If you use more mountant and/or a thicker one, then it is almost inevitable that a fair number of the shells will end up positioned at odd angles making them harder to photograph. Furthermore, in making strews, it is better to have a relatively sparsely populated slide rather than one which is jam-packed so that they overlap, making both observation and photography more difficult.
3) A critical issue in both observing and photography is depth of field. There are a number of factors that come into play here. At first thought, one might very well think that depth of field is irrelevant in relation to such minute objects. Not so! Some radiolaria are sufficiently thick that even at the relatively low magnification of 100x, they may not be in focus at all points. As magnification increases, the depth of focus decreases significantly and, at any given level, you are looking at a progressively thinner “slice” of the object. This is even more true with special contrast techniques such as Nomarski Differential Inference Contrast which is specifically designed to do “optical sections”. Another factor is the quality of the lenses and, in particular, the objectives. The higher their quality, the better the resolution and the flatter the field. Flat-field lenses help to reduce the problem of curvature of field, but increase the depth of field problem Similarly, color correction objectives–achromats and apochromats–reduce chromatic aberration but can create other problems, especially apochromats which are not suitable for use with Nomarski systems. Any decent optical microscope should be equipped with achromatic objectives at a minimum. However, even with very fine lenses, there will be some chromatic anomalies with specimens such as diatoms and radiolaria as a consequence of their highly refractive character.
4) In digital photography capturing the image is only the first step. The major work may yet lie ahead in terms of processing the image on the computer, especially with micro- and macrophotography. One of the highly intriguing aspects of digital photography to me is that the camera and the memory card may capture detail that is not immediately evident and must be “coaxed” out of the system. At this point, I’m not talking about altering the character of the image by means of special effects; rather, the first stage should be to enhance the image without significantly altering its character. Most every image processing program (hereafter IPP) has an algorithm for enhancing focus, however, these are of limited use when dealing with the depth of field problems in objects like radiolaria.
Contrast is also a critical issue and one can approach it in a variety of ways. Again most of the IPP have contrast adjustments built in, but frequently one needs more than that. For example, if I am interested in a particular radiolarian and there are fragments of others or some debris in the field, then I prefer to alter the image to eliminate these distracting elements. In addition I like to create a background which enhances the central object or objects of concern. Some objects are much more striking when presented against a single color, solid background. If the object is very colorful, it is often advantageous to use a white background. An additional plus is that, if you decide to print the image, this saves on black ink. Recently, I have been working on tropical beetles and I find this technique very useful for them.

The other major consideration here is that generally one wishes to preserve the integrity of the central object and not alter it.
Generally this approach does not provide an especially good background for radiolaria and one finds it desirable to alter the contrast and/or color of the specimen in order to emphasize certain features. However, I did it anyway, wretchedly perverse creature that I am, in order to experiment with yet another technique. Again, virtually every IPP has an “inverse’ or “negative” function and if you use this on a monochrome image, it gives you what does indeed look like a photographic negative and, in some cases this can increase contrast and make detail more evident.
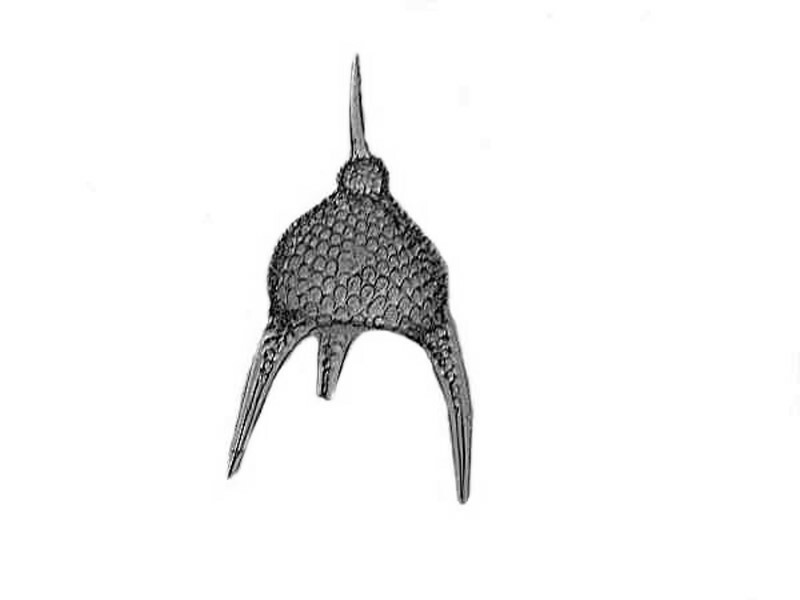
This is the result using the monochrome function.
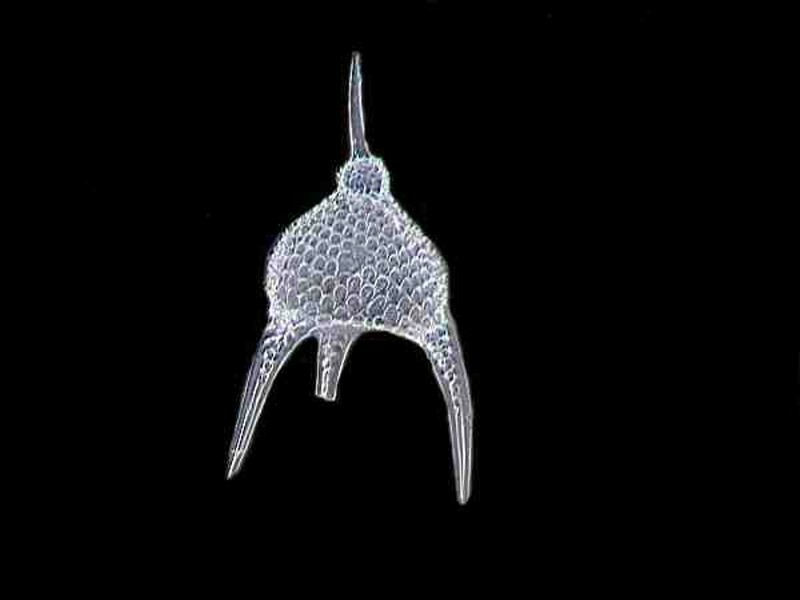
This is the result using the inverse function on the monochrome image.
However, if your image is not black and white and you use this function, you sometimes get very interesting results.
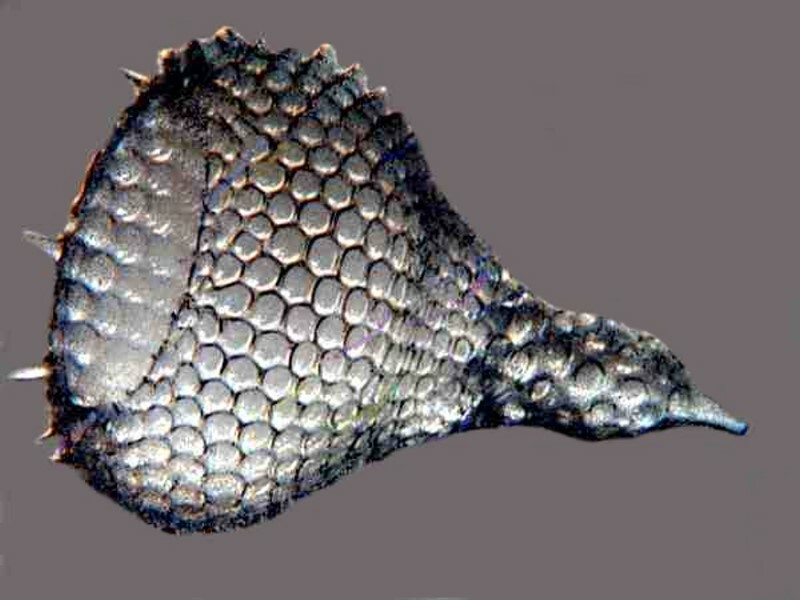
This a radiolarian which still has some refractive coloration and is on a white background. It should be noted that the color is a consequence of optical factors and is not in the radiolarian shell itself.
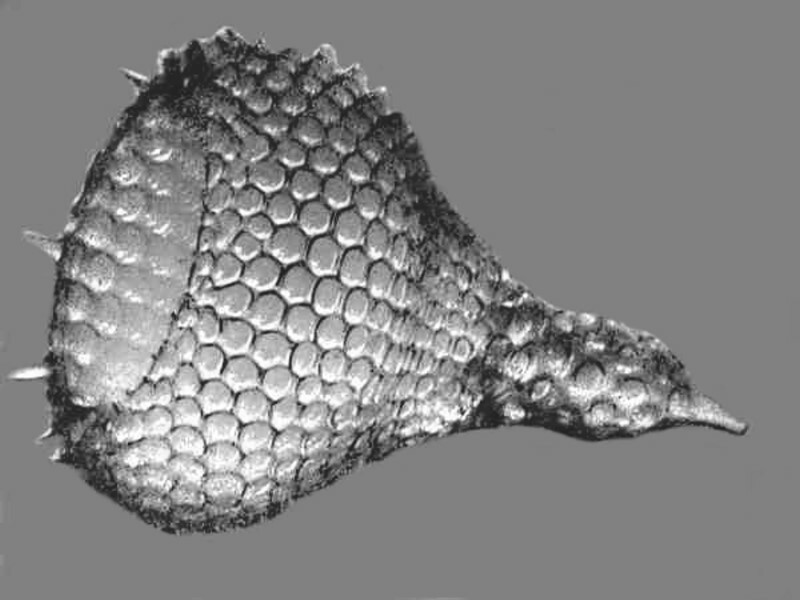
This is the same image where I have shifted the color balance toward gray as far as I could.
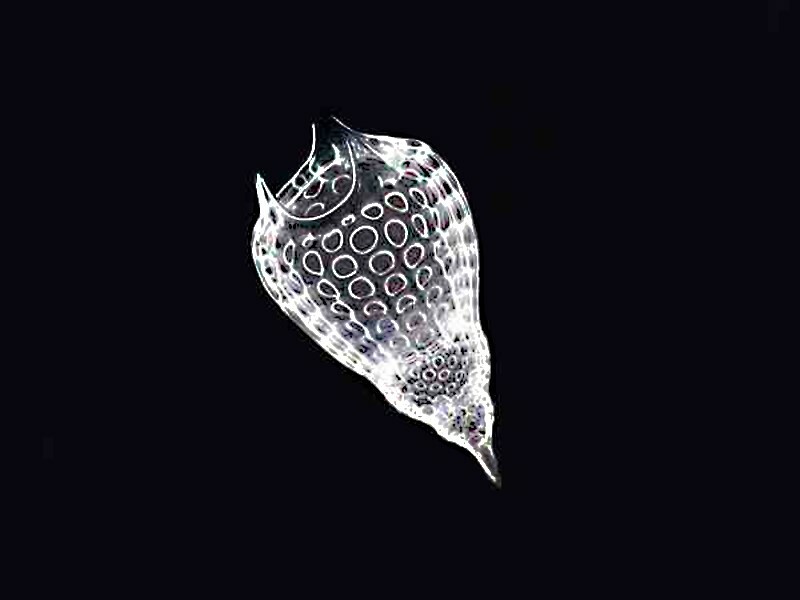
Here is yet another specimen.
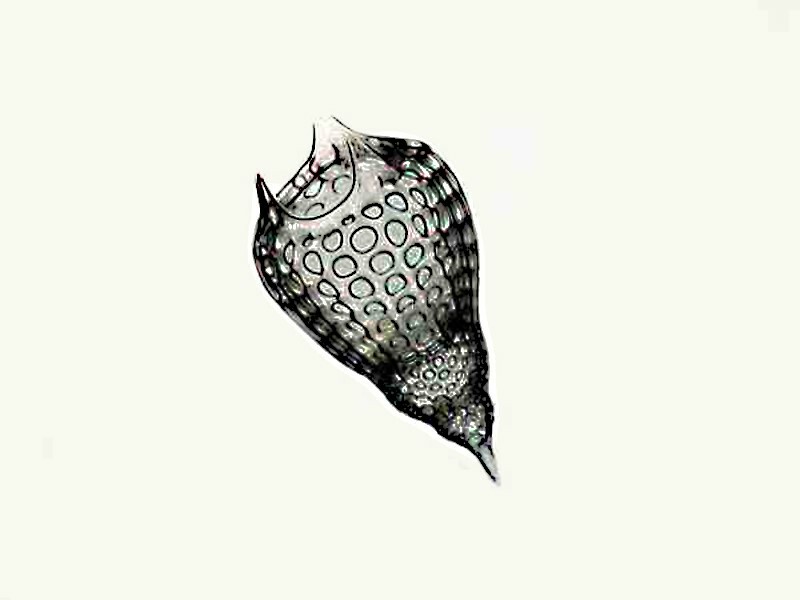
This is the same image now altered with the inverse function. To my eye, this gives a closer approximation to the vitreous appearance of the specimen and, at the same time, reveals the essential structure of the shell.
Confession Time
Mea culpa, mea culpa, mea maxima culpa. Oops! Wrong type of confession. The radiolaria images are not single photographs; they are composites. (The beetle, however is a single image.) These composites were achieved by a remarkably clever and user-friendly piece of software called Helicon Focus. (You can evaluate it for 30 days. Just Google it and you’ll find it.) It is by no means a “silver bullet”, but it does make an enormous difference in resolving “thick” objects. I will give you a very brief description of my as yet quite limited experience with it. In the past, my efforts to obtain images of radiolaria produced mediocre results at best and any attempts to use magnifications over 100x were guaranteed disasters.
The radiolarian and diatom images in this essay each consist of anywhere from 12 to 45 images. I find the highest point of the shell which shows any definition and take an image of that, then I focus down a few microns and take a second image. This process is continued until I am at the lowest point of the shell that still shows any definition. Let’s say that there are 23 images. After these are transferred to the computer, I download this group into Helicon Focus and click on the “run” button. The software shows you the progress of the compilation as each of the images is added. This is an enormous advantage because, if you discover that one or more images are producing distortions or introducing artifacts, you can rerun the sequence after unchecking the boxes on the offending images so that they don’t get included in the final composite. This means that you can do some nice fine-tuning of your image. It is quite splendid to watch as the image is compiled and, with some skill and luck, to see order emerge from chaos. However, one’s work is by no means completed yet.
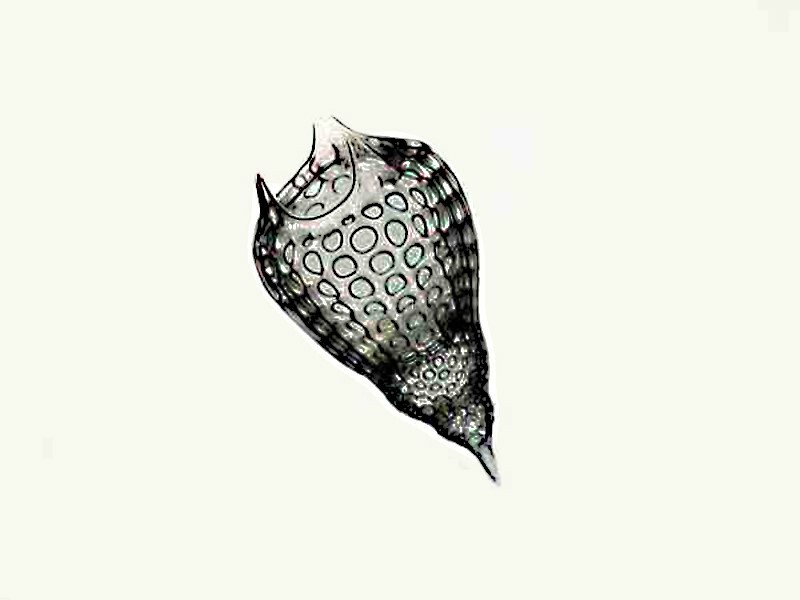
This image is one that has been processed. To give you an idea of how significant the compilation process is, I’ll show you the best single image in the series.
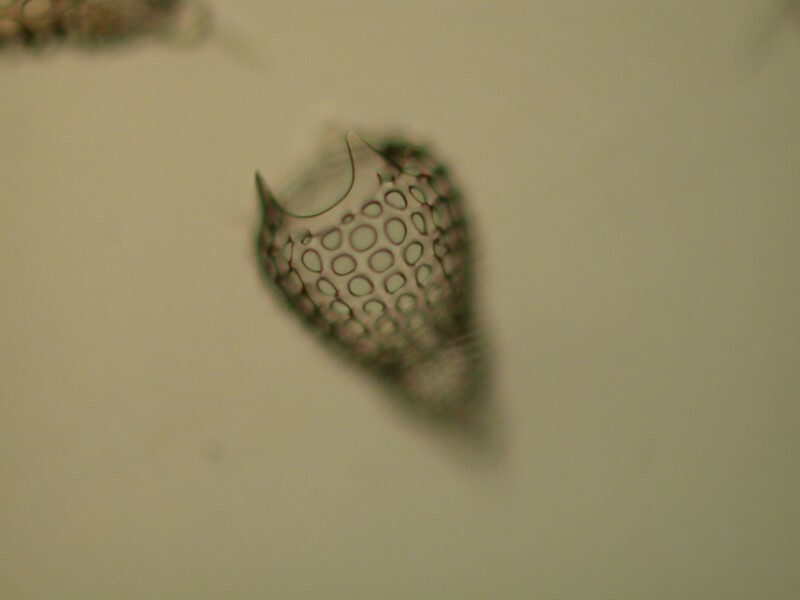
As you can see the difference is striking.
Nonetheless, the composite image still needed, at least from my point of view, enhancement in a number of respects. So, I began with my IPP to alter contrast, focus, color balance, and background. This latter is usually the most time-consuming. I double the size of the image and using the “Paint” function change the background to one which I find acceptable or one whose inverse I find acceptable.
By way of conclusion, I will include a few more radiolaria images with only minimal comment.
First, I’ll show you 2 specimens from the Pacific. The first has already been processed and inverted.
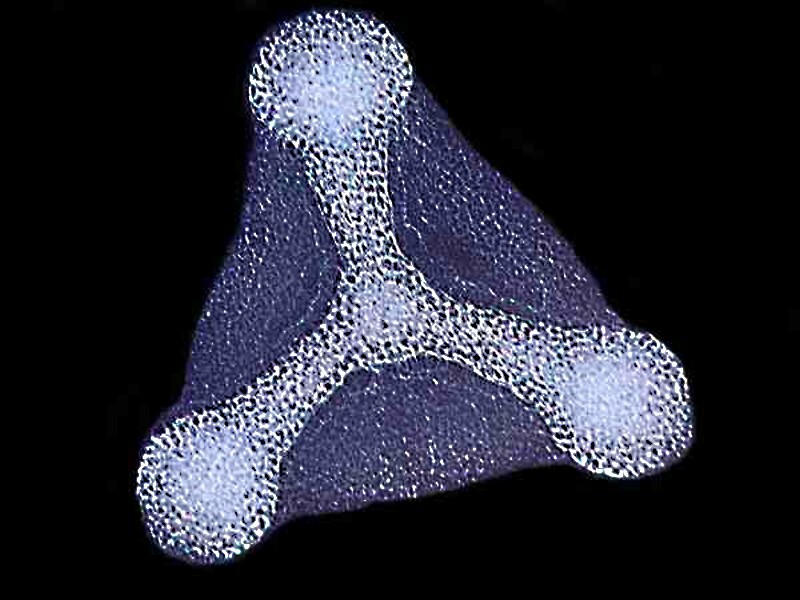
The next 2 show a processed image and then a transformation using the monochrome function along with the inverse function.
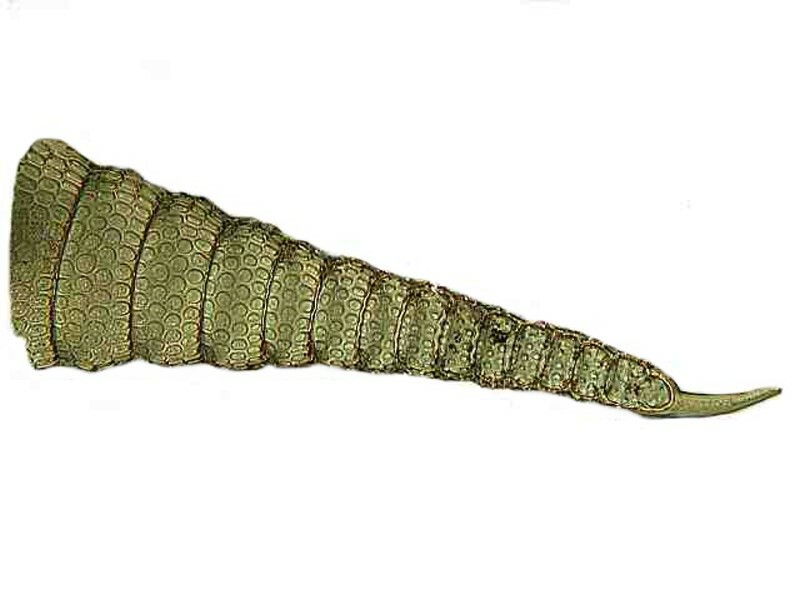
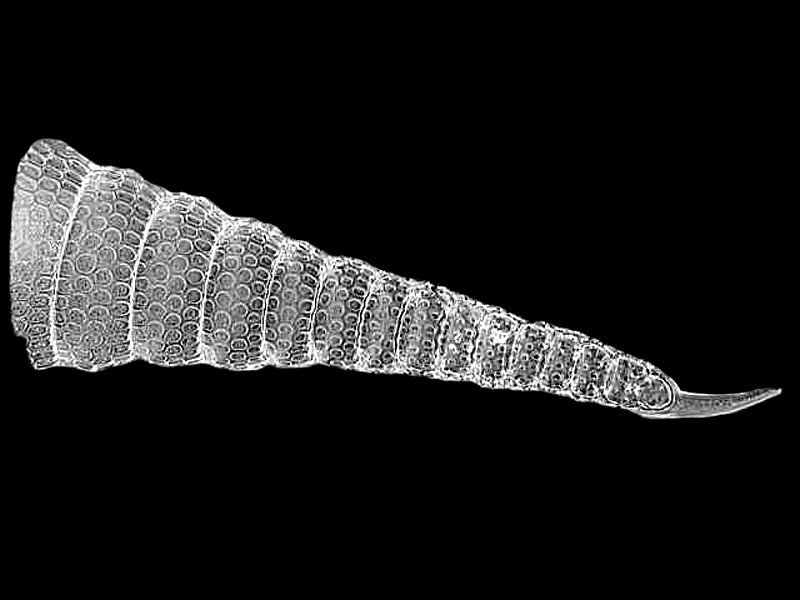
The next specimen is from Barbados and shows first a transformation using the monochrome function followed by the application of the inverse function in the second image.
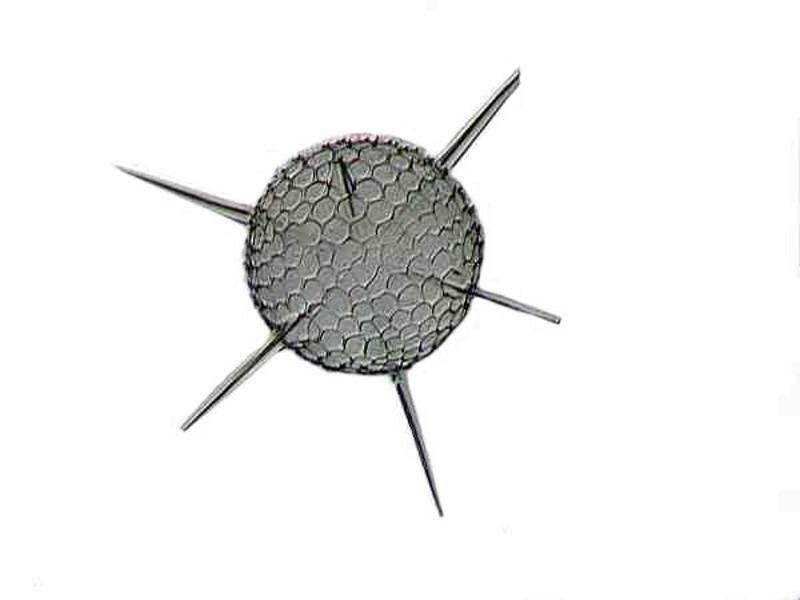
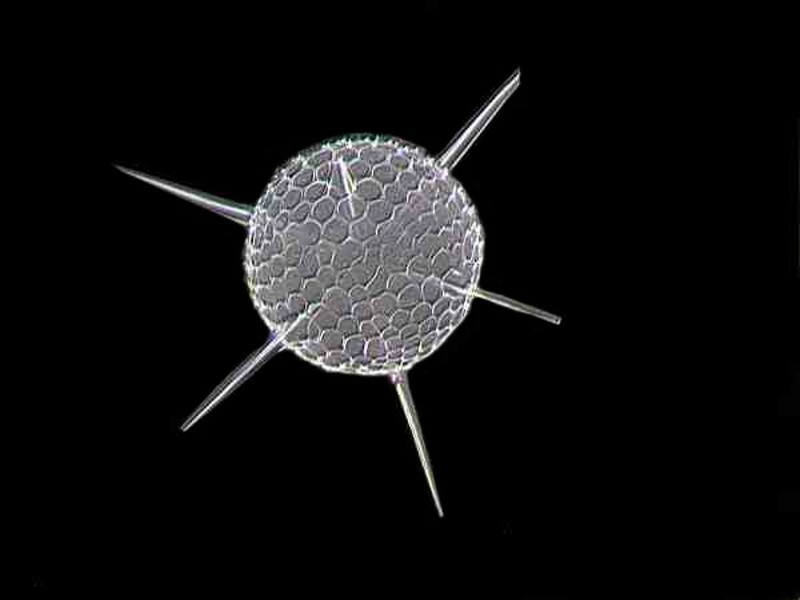
Finally, I made an intriguing little discovery. In the Barbados sample, I discovered a considerable number of small, spherical specimens which have tiny pointed projections all around the surface.
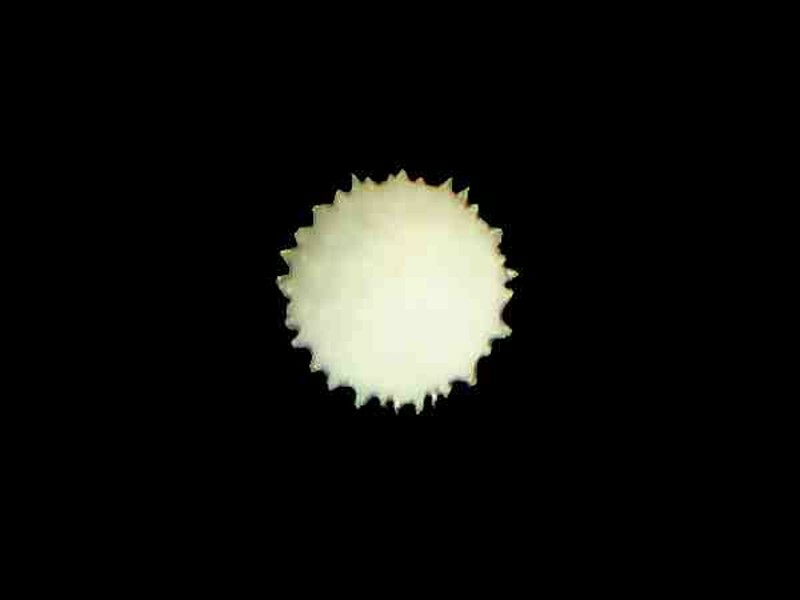
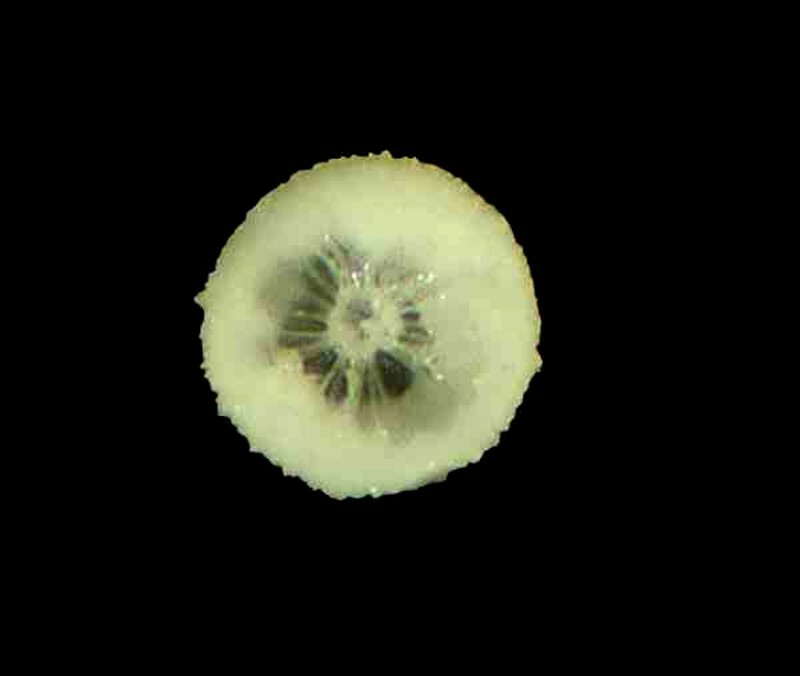
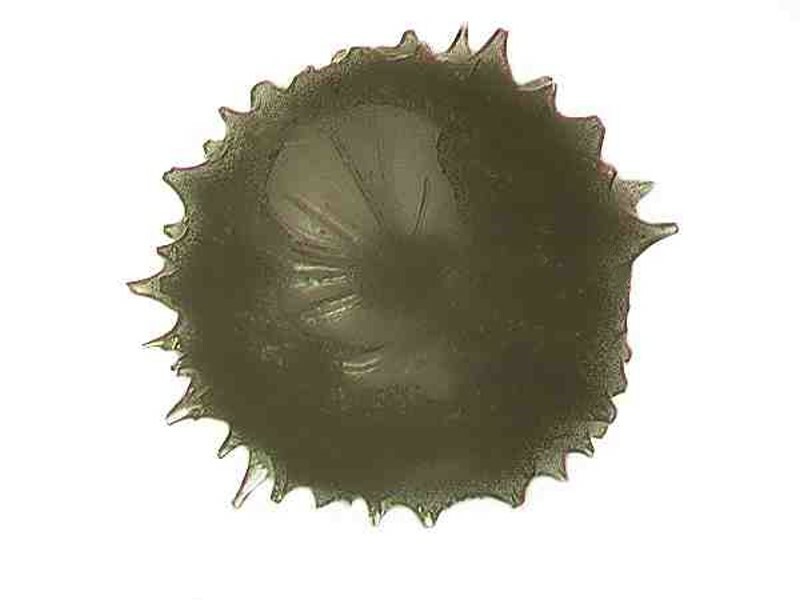
I took several and broke them open to see if I could get a glimpse of the internal structure. What I found surprised and delighted me; there are a series of struts that run from a central core up to the inside of the outer surface as you can see from the 2 images below.
I hope to create some yet better images and with patience and a willingness to experiment, I’ll hope to present yet another article on the astonishing radiolaria.
All comments to the author Richard Howey are welcomed.
Editor's note: Visit Richard Howey's new website at http://rhowey.googlepages.com/home where he plans to share aspects of his wide interests.
Microscopy UK Front
Page
Micscape
Magazine
Article
Library
© Microscopy UK or their contributors.
Published in the May 2015 edition of Micscape Magazine.
Please report any Web problems or offer general comments to the Micscape Editor .
Micscape is the on-line monthly magazine of the Microscopy UK website at Microscopy-UK .
©
Onview.net Ltd, Microscopy-UK, and all contributors 1995
onwards. All rights reserved.
Main site is at
www.microscopy-uk.org.uk .