To alter or not to alter, that is the question. The issue is especially critical with fine slides made by master craftsmen in the 19th and first half of the 20th Century. Slides which are over 50 years old tend either to have been treated with respect and care or shamefully mistreated and neglected. If you wish to acquire a few fine and/or rare slides of well-known makers, then buy them from a well-established dealer who will, if asked, give you a detailed description and note even minor flaws, such as, a small corner missing on the label. Such slides are not inexpensive, but they will be of high quality. In general, slides by famous makers should not be tampered with. There are a very few exceptions and you can extrapolate those from the remarks which follow.
If, however, you, like me, are, from time to time, tempted by a small collection of rather intriguing slides of unknown, dubious, or indefinite origin, you may wish to try a variety of rescue techniques ranging from minor repairs to complete restoration and remounting. I’ll start with some of the simpler cases and work up to the truly challenging ones. Much depends upon how you intend to make use of the slide.
1) A minor, but nonetheless, annoying problem is a torn or partially missing label. Even worse is the case where the label is missing entirely or the missing part contained the identification or description of the specimen.
If it is simply a matter of a loose corner or, indeed, a large section of a label being loose, then it is a simple matter to re-glue it. Make certain that you use a high quality adhesive that dries perfectly clear and is not so watery as to affect the paper or the ink on the label, especially if there is data on the label that has been handwritten in ink. Apply a thin, but sufficient, layer of glue to the necessary parts of the label. I like to use a dissecting needle which I have flattened out on both sides on a whetstone to make it into a miniature spatula.
If a label is badly torn or missing completely, then I like to replace it with a nicely designed label of my own making. Computers provide the opportunity to create pleasing labels in a variety of formats. I have had no luck in obtaining any 1"x1" labels, but have purchased 1"x1½" ones and also full sheet single labels. To use these for slides means some careful formatting and some skill with scissors once the labels are printed. [Update—Just recently I did find a source for 1"x1" labels, but have not yet tried them out.]
If you decide to remove the label and there is nothing else on the slide except for the specimen, you may wish to use some colorful paper or even make your own on the computer and create what I like to call Neo-Victorian slides.

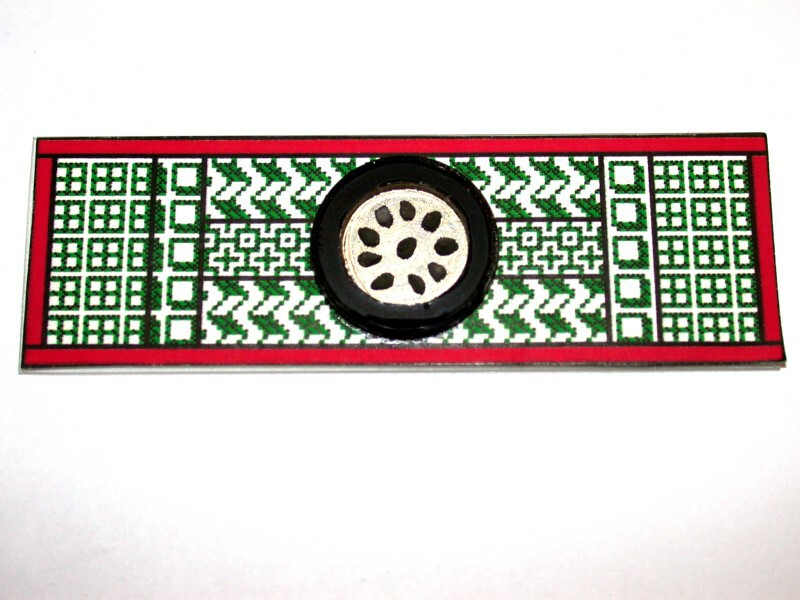
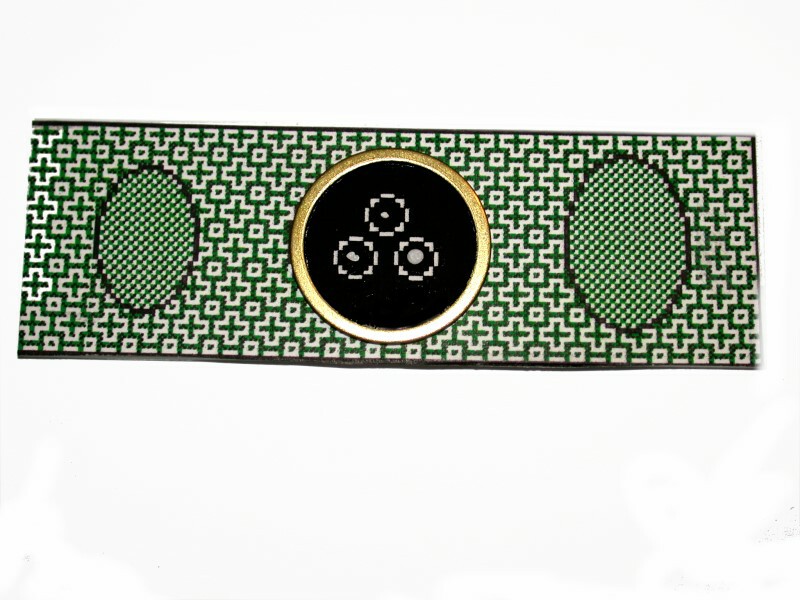
I was given some slides of thin sections of the large forams Tritichites and Pseudoschwagerina which are about 50 or 60 years old. In some cases, cover glasses were either partly missing or badly broken and, in other cases, the balsam had crazed to such a degree that the specimen was not observable. On some slides where the balsam had not crazed, it was possible to trim the balsam which had oozed out from under the cover glass and then carefully remove the remainder of the cover glass or its fragments. If the balsam over the foram sections is still clear, then a drop of clear synthetic mounting resin in xylene can be added and a new cover glass maneuvered firmly in place with a couple of dissecting needles. Exercise caution in using xylene as its fumes are both toxic and highly flammable.
If, however, the balsam around the section(s) is not clear, then one can very carefully add a drop of xylene and try to work the section free of the old balsam on the slide. Avoid, as much as possible, moving the section and I would strongly recommend that you not attempt to remove the section from the slide by soaking in a solvent. Most thin sections are extremely delicate and rarely will they survive complete remounting. Some of my efforts were modestly successful and I decided to paper a few and add a brass mounting ring to create a thin cell.
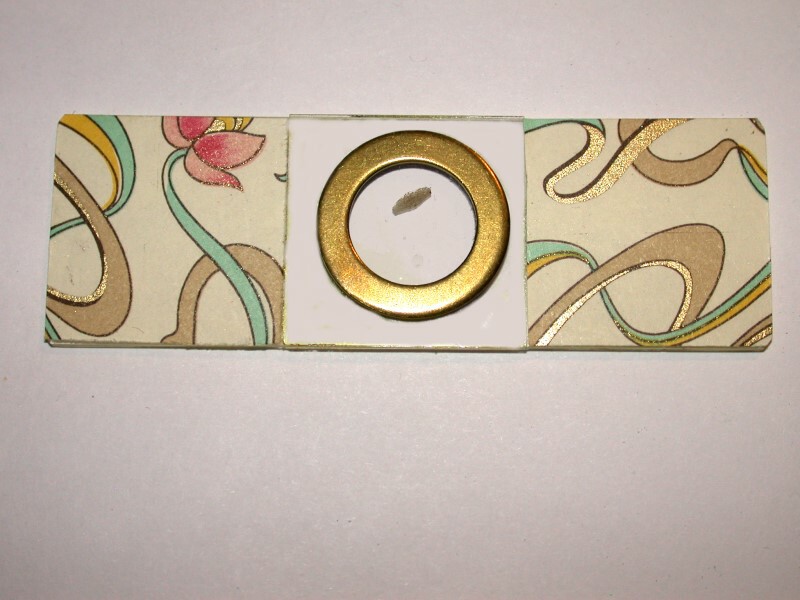
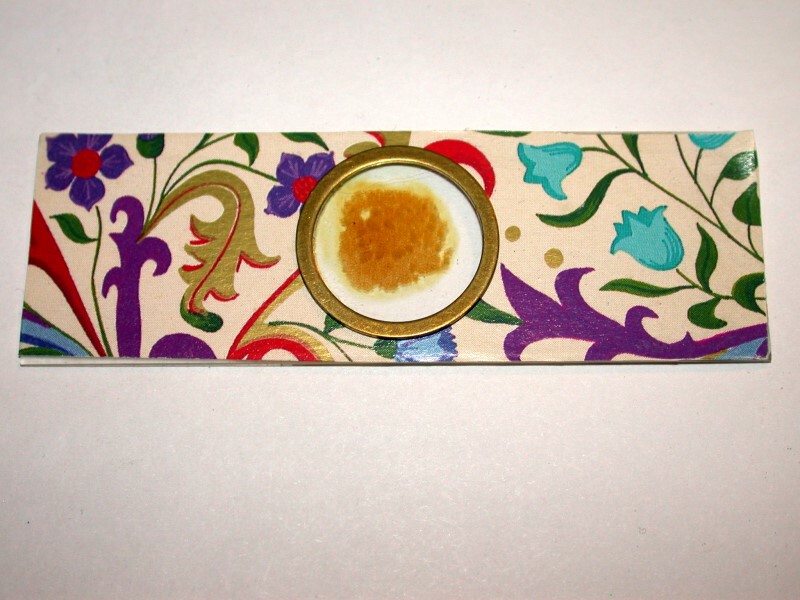
Quite another set of problems may be presented by a slide where the seal has not been airtight and, over time, the mountant has receded until the air gap is encroaching on the specimen. I have a 19th Century slide by J.D. Moeller of a plant section which is a paradigm case. The label is intact, so I certainly don’t want to do anything to the slide that would destroy its provenance. The cover glass seal (a black enamel or resin) appears intact, but clearly has a leak. On one side the air bubble is beginning to impinge on the specimen. What to do? Should I attempt to remount it or leave well enough alone? I am inclined to the latter. Moeller slides, though not exactly rare, are of distinct value. I would hate to destroy one even accidentally. I am reminded of a story, which I probably have all confused, but as I remember it, the artist Rauschenberg asked his artistic colleague Willem de Koonig for one of his works which he wanted to destroy by erasing. I believe that de Koonig intentionally picked out one which was a combination of pencil and ink to make the task more difficult. Rauschenberg claimed that he did it because he wanted to have the experience of destroying a “great” work of art. In my mind, I’m not sure that a de Koonig drawing attains that lofty description of “great” but, in any case, I can’t share Rauschenberg’s perspective—were I to ruin a Moeller slide accidentally or, as a consequence, of ineptitude, that would be bad enough, but to set out intentionally to destroy the result of the creative efforts of another human being of genuine accomplishment would, to me, be a travesty. So, for now, I will not tamper with the Moeller slide. If, however, at some point, I find that the air space is actually moving into the specimen area, then I shall have to reconsider.
Recently I purchased a collection of about 80 slides in four quite old wooden boxes. As you can see from the first image, the boxes are quite nicely made. The second image shows what are likely stains from the mountant after being exposed over time to excess heat.
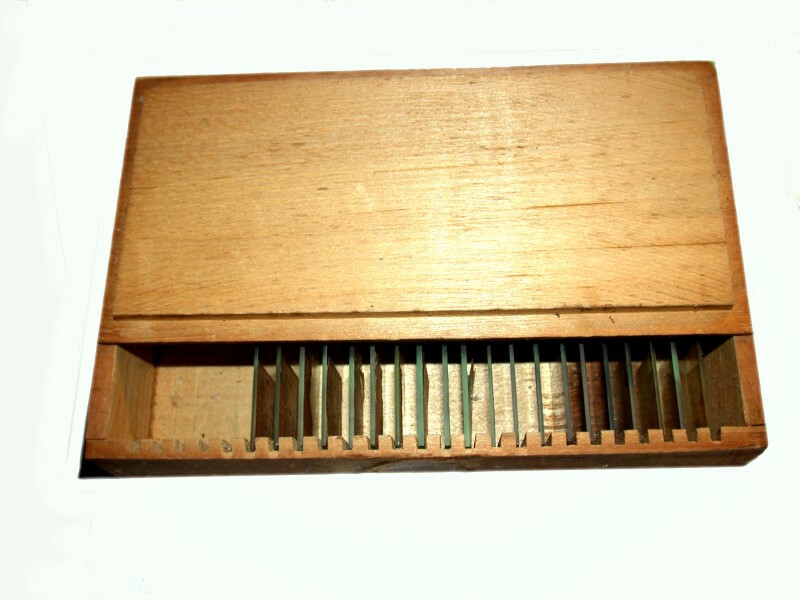
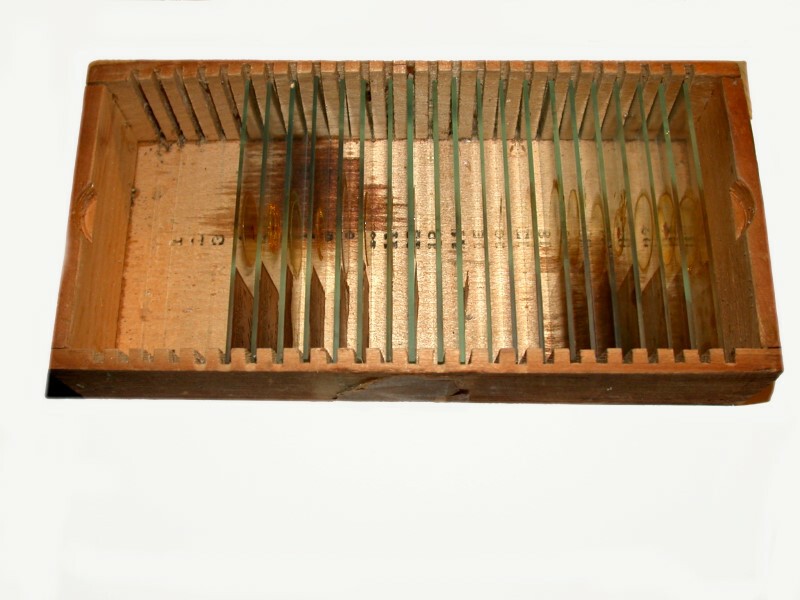
The majority of the specimens are botanical sections with a few insect parts thrown in. The slides were all made by the W.M. Welch company in Chicago. From what little I could discover on the Internet (by Googling, of course–amazing that the computer culture has us speaking in baby-talk), the company was founded in 1880 and until 1910 was a general scientific supply house, and, I somehow got the impression, mostly for high schools and colleges. Their slides were clearly for practical use and, in no way, designed for collectors. However, I must say that some of the botanical sections are so thin and well-mounted as to be highly impressive in terms of their quality. Apparently the company eventually became the Sargent-Welch company which still exists as a scientific supply house, but no longer provides prepared slides.
The slides which I have possess the label only of W.M. Welch and so, I strongly suspect that they are about 100 years old and date from that initial period of 1880-1910. Unfortunately, somewhere along the line, after these slides were sold, the collection was subjected to extreme heat. With the majority of the slides, balsam has oozed out from under the cover glasses and, in a few instances, up onto the cover glass itself. Frequently the balsam is in relatively thick chunks around the edge of the cover glass and with some care and patience, it should be possible to remove it. The second image is a closeup showing both the leakage of the balsam and the fact that the boxwood section is intact and in quite good condition. So, this is a slide which could be reasonably restored without too much effort. However, the area around the cross section is clear and so a good digital image could also be obtained and processed on the computer in such a way that no evidence of the balsam leakage would appear.
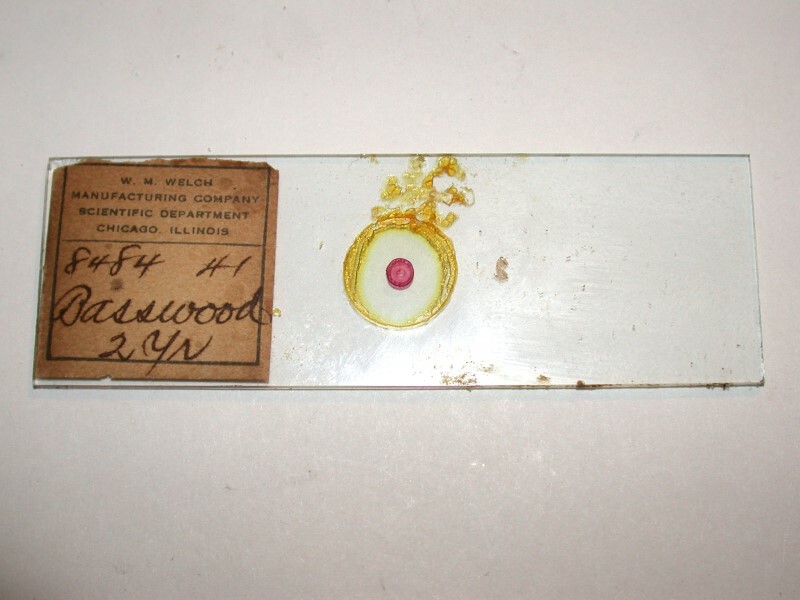
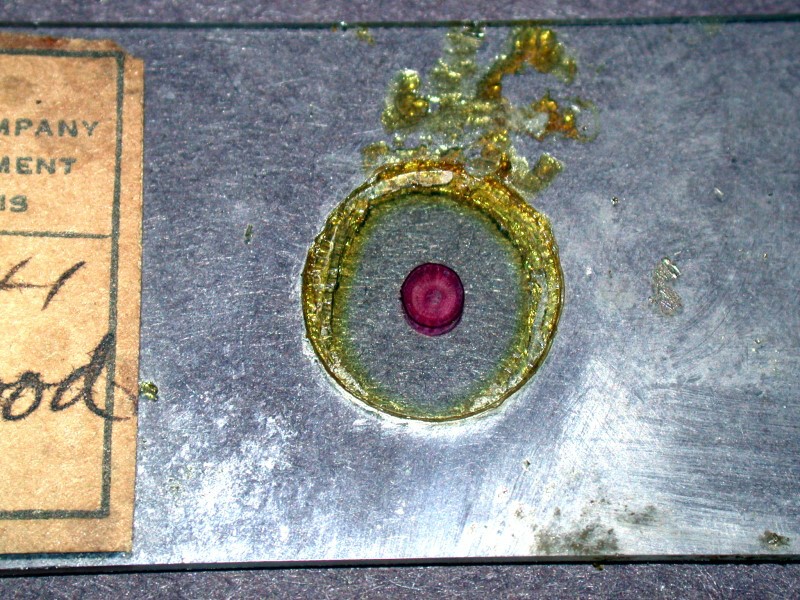
Clearly, no reputable scientific supply house would sell slides in such condition, even as seconds. With many of the slides, a careful clearing of the cover glass area directly over the specimen will suffice for purposes of observation. Most of the sections are too delicate to be removed completely and remounted. One of the great advantages of digital imaging is that one can often quite effectively take a picture which centers on only the part or parts of the specimen which remain in good condition. In some cases, that area may contain minor blemishes, such as, a small piece of dirt, a cotton fiber, or some other extraneous bit of debris that has migrated to exactly the place where you don’t want it. The marvelous thing about computer graphics programs is that, in many instances, these blemishes can be removed thus, in a sense, restoring the specimen to its “original” condition. This can mean a great savings in time and effort, unless for your own appreciation, you want to turn some of the slides into “Neo-Victorian” “collector” items. “One of these days when I get organized...”—a phrase my friends have heard for at least the last two decades—I may try to sell some of my “Neo-Victorian” slides.
In those rare instances when you are more interested in getting images of the specimen rather than preserving the slide, you may want to use a solvent to carefully remove the balsam as completely as possible with minimum disturbance to the specimen. One such instance would be where the crazing in the balsam so significantly obscures the specimen as to make getting good images virtually impossible. Another such instance is where the specimen is significantly damaged, but parts of it remain intact and are worth imaging. After removing as much of the balsam as possible either add a drop of quite dilute mounting medium and a cover glass or, if the specimen is hardy enough to withstand drying, let the solvent evaporate completely and then add a drop of immersion oil and a cover glass.
A different set of problems is presented by broken slides on which the specimen area is still intact. Using a small metal ruler and either a glass cutter or a diamond-point scriber, you can trim the slide so that only the specimen area remains. This section can then be mounted on a fresh, clean slide using a clear mounting resin. After you cut the damaged slide the edges can be smoothed with an emery board or other fine abrasive. This, of course, doubles the thickness of the slide in the specimen area. This presents no problem if it is being examined or imaged with a stereo dissecting microscope or if only low or medium magnifications are used on a compound microscope. Adding a label and/or papering the slide can produce useful results.
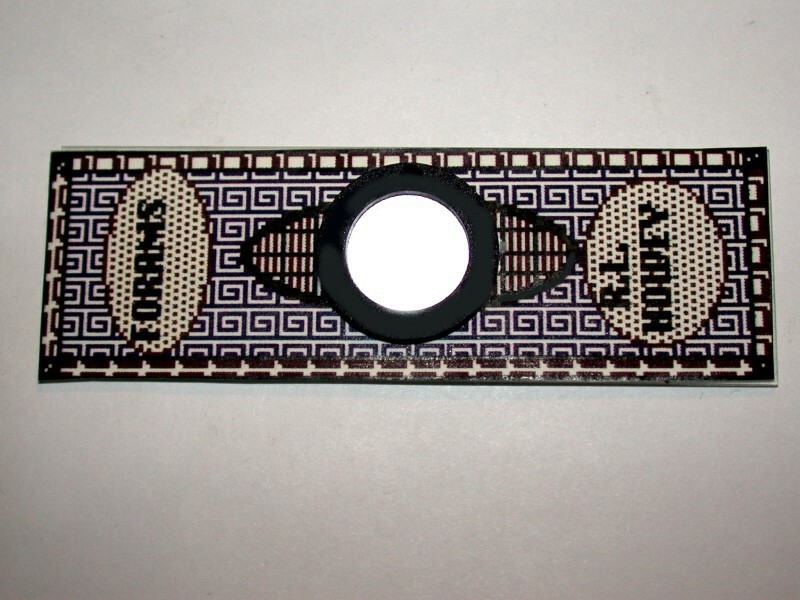
Remember that balsam is a resin and, in a significant sense, never dries completely. That is why the storage of slides is a crucial matter. Often if you are purchasing a few slides, say 15 or 20, they are shipped to you in a plastic slide box which will hold 25 slides. These are not convenient for proper storage, since slides should ALWAYS be stored horizontally in order to prevent the specimen(s) from migrating from the center area of the cover glass to the edge. Many very nice preparations have been spoiled as a consequence of improper storage. For this reason, I prefer either slide storage boxes with drawers (which are expensive) or slide boxes for 100 slides. These latter are about the size of a book and are quite thin, so it is convenient to store a large number of them on a bookshelf insuring that the slides are in their proper horizontal position. Since I like to read in bed, I have always thought that the horizontal position is the proper storage position for humans as well. These slide boxes are relatively inexpensive; you can acquire them for $5 or $6 each which makes it feasible to store different types of slides in different boxes, for example, have one box for botanical sections, another for insect parts, a third for histological sections and so on.
My own slide collection, I think of roughly in terms of the following groupings:
1) Classic collectibles.
These range from the 19th Century mounters, such as, J.D. Moeller, W. Watson and Sons, and John T. Norman to 20th Century craftsmen, such as, the splendid foram slides of Brian Darnton, the exquisite botanical sections of Patrick Everett, and the ingenious diatom arrangements of Klaus Kemp and Stephen Nagy. If one of these slides got damaged, I would be extremely reluctant to undertake repair, let alone restoration.
2) Modern prepared slides from biological supply houses.
In the United States, Ward’s Natural Science, Carolina Biological Supply, and Triarch, Inc., all provide high quality professionally made slides using modern equipment and reagents. One of the great advantages of purchasing such slides is that they are relatively inexpensive and, if damaged, usually easily replaced. An additional advantage is the wide range of specimen material which they offer on slides including histological sections of both animals and humans, botanical sections, embryological mounts, parasites, bacteria, and protists. Some of the slides of ciliates specially stained to show the silverline system are especially fine as are their diatom arrangement slides. These two latter types of preparations are not inexpensive, but are an excellent investment for collectors of high quality slides.
3) Older prepared slides from biological supply houses, companies, or laboratories which specialized in producing prepared slides.
A number of such companies have gone out of business or have been absorbed by larger companies. In this country, Turtox is a classic example. For many years, they provided good quality slides for educational institutions. Occasionally these kinds of slides will show up on eBay for a reasonable price.
4) Petrological slides.
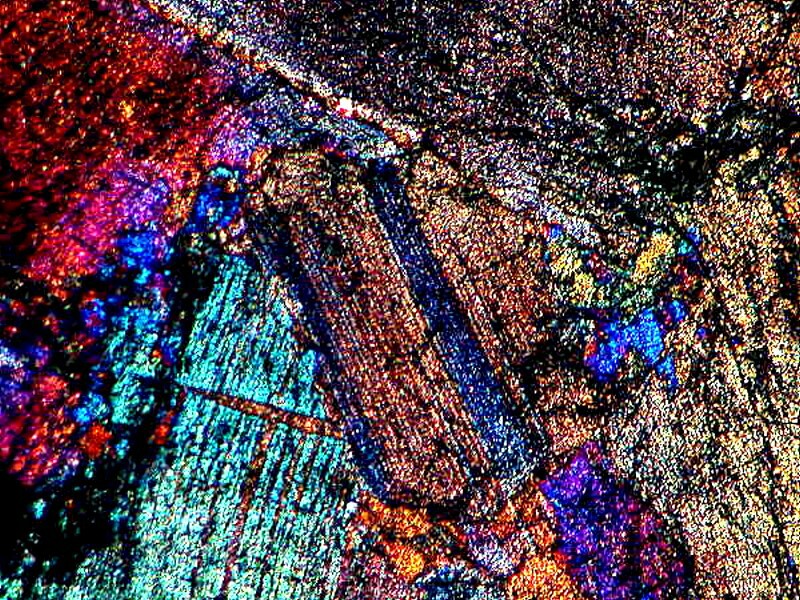
These are often thin sections of rocks and minerals and are usually rather expensive with prices beginning at $18 to $20. However, considering the equipment and work involved in producing these sections, such prices are not unreasonable. It is worth having at least one or two carefully selected ones in your collection, since some of them are stunning under polarized light. Some of these sections are mounted on special slides of a size other than the standard 3"x1".
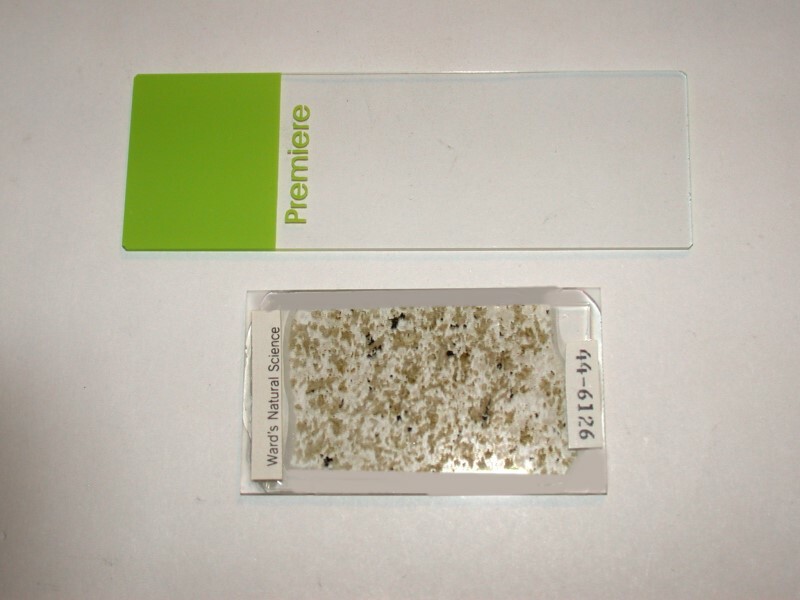
Although, these sections may appear rather bland and uninteresting, many of them when observed with polarized light are spectacular.
5) Micro-paleontology slides.
Over the years, quite a variety of types of paleo slides have been used; however, two types have become standard and are still available from Ward’s Natural Science. Both of these are made of cardboard. The simplest type consists of a white cardboard slide with a circular “cell” of about 5/8 of an inch in diameter punched out in the center of the slide and the bottom has a black background. These are often used for arrangements of fossil foram shells, fragments of bryozoa, small pieces of crinoid stems, conodonts, radiolaria, etc. The second type has a long rectangular black “cell” with a grid formed by white lines and each square in the grid is numbered in white running from 1 to 60. The grid consists of 5 rows of 12 “compartments”. These have been used in a wide variety of ways both by paleontologists and amateurs. Once the specimens have been mounted, you can coat the edges of the cell with glue and place a cover glass over it to protect it from dust.
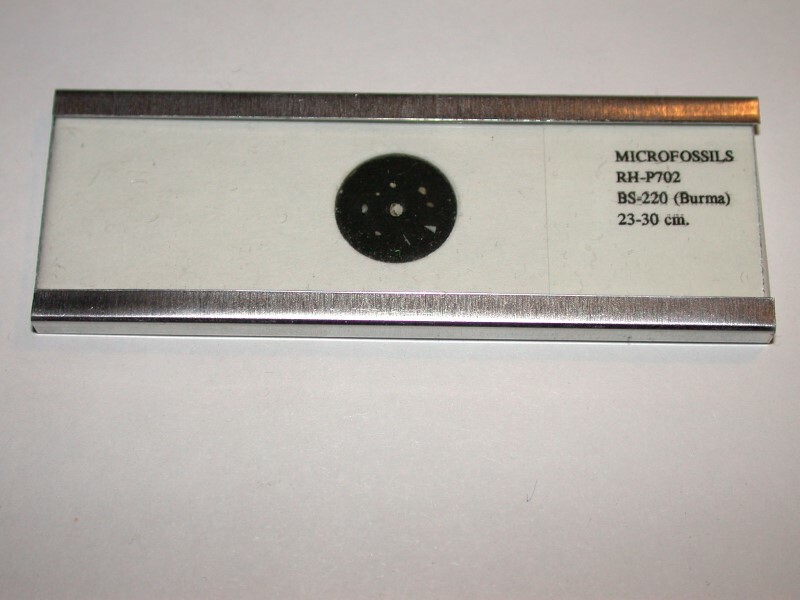
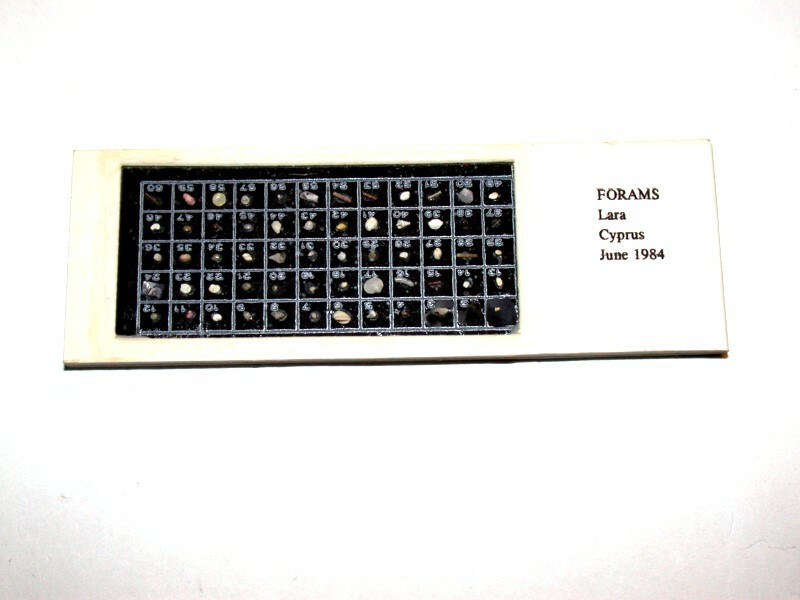
Especially in older slides, specimens sometimes come loose or a cover glass gets damaged. It is usually possible with a little care to remove the old cover glass, remount the loose specimens using a glue which will dry transparent, and then put on a fresh well-cleaned cover glass.
6) Research slides or “Quick and Dirties”. The major reasons for making slides are to acquire information and for educational purposes. The beautifully papered Victorian slides and the magnificent arrangements of diatoms and butterfly scales are wonderful in their own right, but for most scientists and educators, such aesthetic considerations are secondary. Slides of blood smears, medical histological sections, and all those various types of smears of secretions from humans and other animals are not objects of beauty, but their rather drab utilitarian nature is of crucial importance to humans in diagnosing diseases, disorders, and parasites.
I acquired some rather interesting slides from a parasitologist and another fairly large group of micro-paleontology slides from a teaching lab. The parasitologist prepared his slides for taxonomic purposes and so the specimens were well-fixed, well-stained, and mounted in such a manner as to show the salient features required for identification. They were labeled in ink on the frosted end of the slides. In other words, they were high quality research slides which were important sources of information, but with no frills.
The paleo slides are a somewhat different matter. They cover a span of 50 or 60 years and some were prepared by researchers and some by students working either on M.A. or Ph.D. degrees. There are, as I mentioned before, some very nice thin sections of some of the large forams which are at least 50 years old. Unfortunately, as all too often happens in working labs, specimen materials sometimes, in fact, fairly frequently, get rather rude treatment. Hidden away in university and even museum collections are items which get ignored, improperly stored, damaged and, as a consequence, lose much of their scientific value. A researcher may spend decades assembling a fine teaching and reference collection and when he or she retires, if the field of specialization is no longer a “hot” one, the collection may be stored away and eventually simply discarded. If such slides were made available to amateurs at nominal prices, they could continue to serve a valuable educational function.
Sometimes we want to make our own “quick and dirties”, especially when we find organisms we haven’t seen before and would like to have, at least, as a semi-permanent record. For example, I found some specimens of Keratella in a sample and I wanted to examine more closely the sculpting of the lorica. This is difficult to do with active living rotifers and rotifers are notoriously difficult to anesthetize in an extended state. So, I fixed some in formalin and added a dilute solution of Acid Fuchsin.
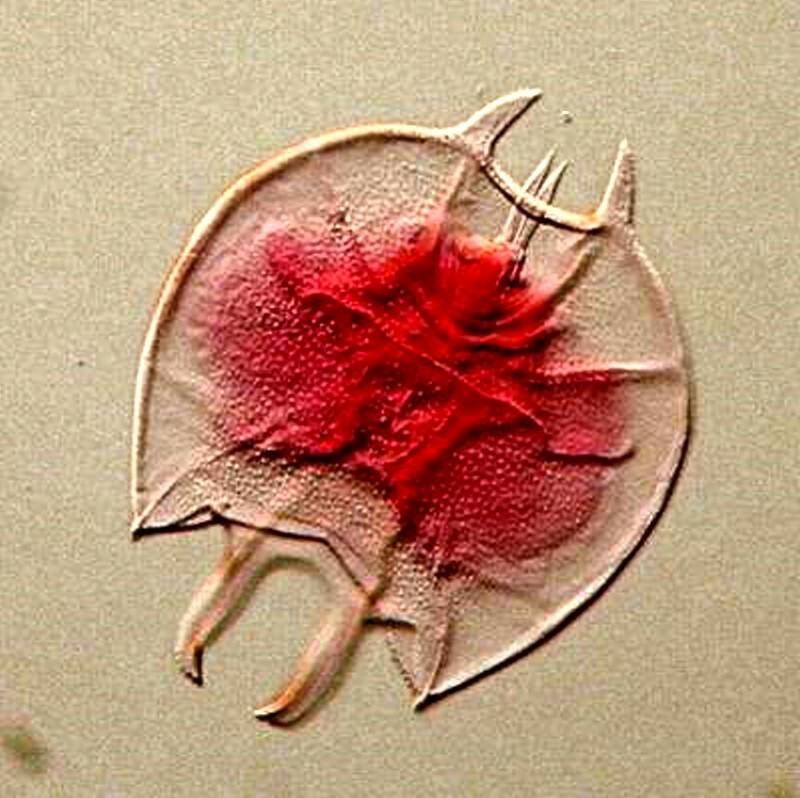
The slide is serviceable, but a tad messy. If at some point I want to make it more attractive, I can, using a sharp scalpel, remove the excess resin around the edge of the cover glass, provide a nice printed label, or even paper the slide and create a pleasing addition to my collection. However, if one gets involved in making very many such slides, practical considerations soon overwhelm aesthetic ones and I must admit to having produced some fairly sloppy, if functional, slides.
7) Slides of Crystals.
Here again, pragmatic considerations tend to dominate. Some substances crystallize readily, are easy to prepare, and take on predictable forms. These are usually best made up fresh. Other compounds or mixtures may crystallize in quite unpredictable ways and you may find some remarkable forms which you want to preserve “permanently.” There are several possible approaches.
a) Some types of crystals are quite stable once they are fully formed and completely dry and they can be mounted dry in a cell with a cover glass and carefully sealed to keep out dust and moisture. It is usually best to ring the cover glass several times with layers of a sealant varnish.
b) Many crystals mount well in a drop or two of immersion oil and, here again, it is usually desirable to use a cell, but one which is as thin as is practicable. This also requires careful sealing.
c) Probably the most generally satisfying and consistently stable approach is to mount the crystals either in Canada Balsam or a synthetic resin. There are some preparations, albeit carefully done by expert mounters, which are still splendid after over 100 years. However, it is important to note that it is virtually impossible to repair such mounts if they are damaged.
In any fluid or resin mounts, there is always the consideration of refractive indices and, of course, the sort of effect this issue raises will depend upon the refractive character of the crystalline compounds.
An additional complication is that some crystals are deliquescent (hygroscopic, hydrophilic)–ain’t the English language grand! Three different aristocratic words to denote—absorbing water out of the surrounding atmosphere. There are a number of such substances, but 2 which I have worked with that I find problematic are Magnesium chloride and Potassium sodium tartrate (Rochelle salts). We’ve all been told that oil and water don’t mix, so I haven’t tried mounting any of these crystals in immersion oil, but it might just work, in a rather messy way—I’ll let you know. What I do know is that trying to mount deliquescent crystals in a resin won’t work, because the water will cloud the resin and ruin the preparation.
Finally, in deciding whether or not to try to repair or improve a given slide, the primary consideration should be the degree of anguish you will experience if you end up ruining it. Once you’ve settled that issue the rest will sort itself.
All comments to the author Richard Howey are welcomed.
Editor's note: Visit Richard Howey's new website at http://rhowey.googlepages.com/home where he plans to share aspects of his wide interests.
Microscopy UK Front
Page
Micscape
Magazine
Article
Library
© Microscopy UK or their contributors.
Published in the January 2016 edition of Micscape Magazine.
Please report any Web problems or offer general comments to the Micscape Editor .
Micscape is the on-line monthly magazine of the Microscopy UK website at Microscopy-UK .
©
Onview.net Ltd, Microscopy-UK, and all contributors 1995
onwards. All rights reserved.
Main site is at
www.microscopy-uk.org.uk .