In the two previous parts, I have touched on the fact that in many instances, slides of mediocre or sometimes even poor, quality command substantial prices simply due to their age and/or scarcity. As a consequence, I decided, initially somewhat as a lark, to try making some of my own papered and “exotic” slides which I have dubbed Neo-Victorian slides. In the process, which has been both frustrating and rewarding, I have learned a great deal. I admit that one has to be slightly mad to embark on such an enterprise, but I decided to try to combine some new technologies and material with some old techniques.
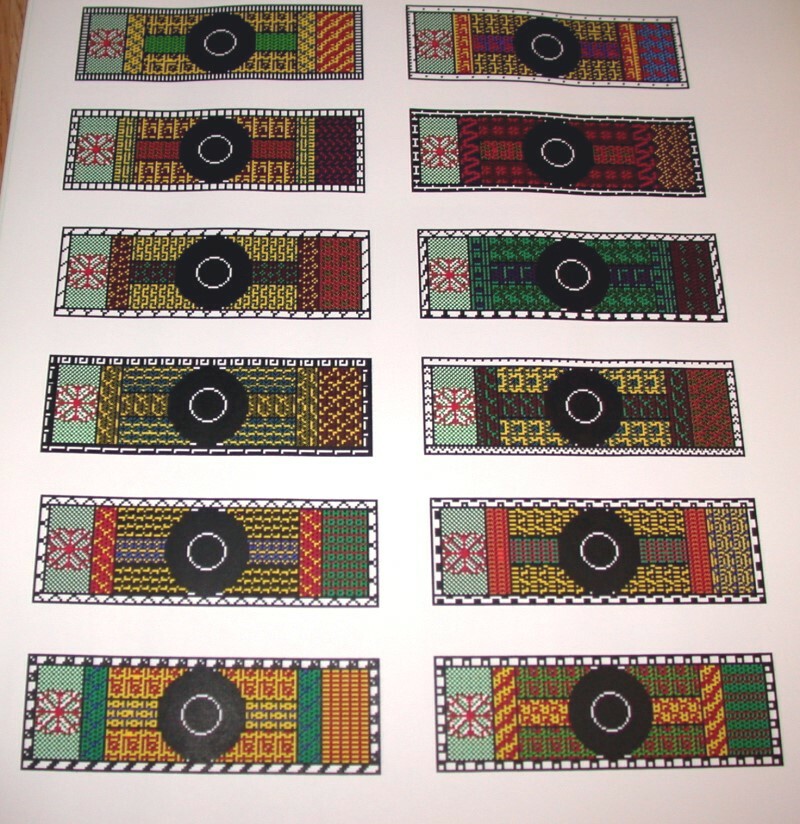
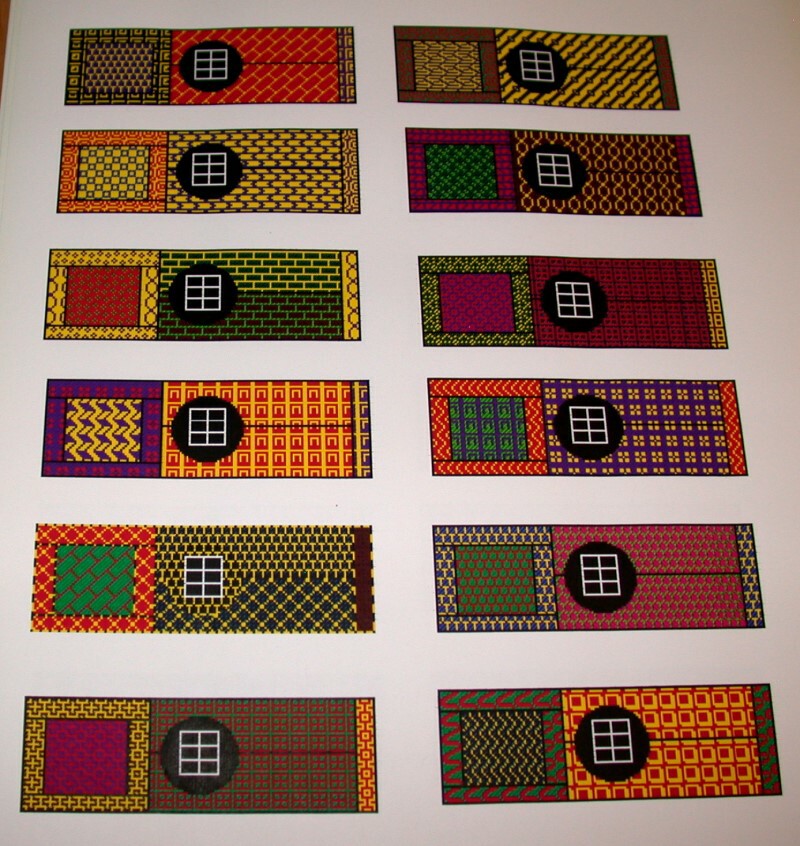
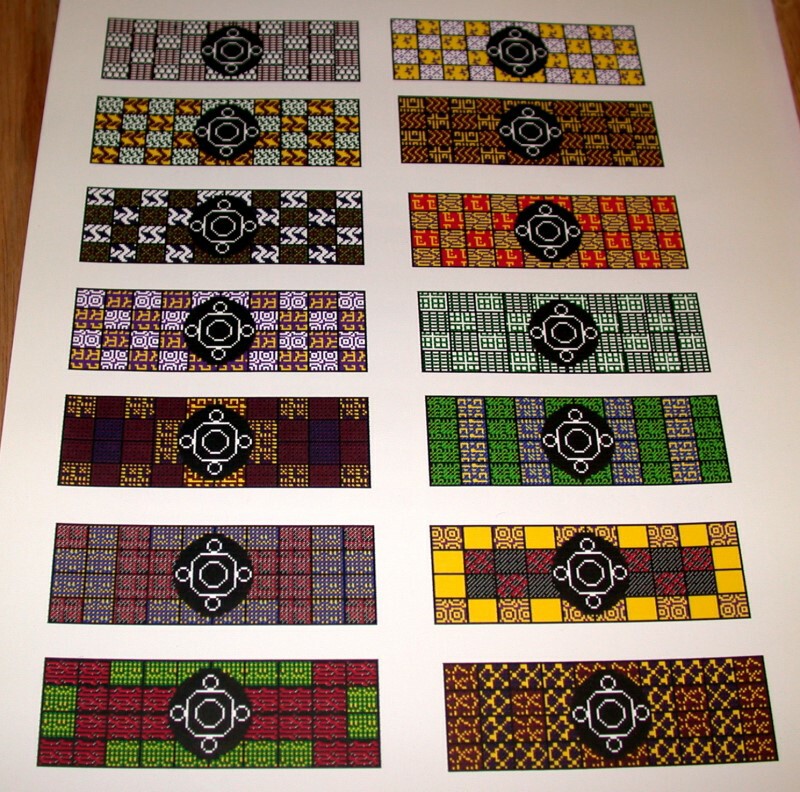
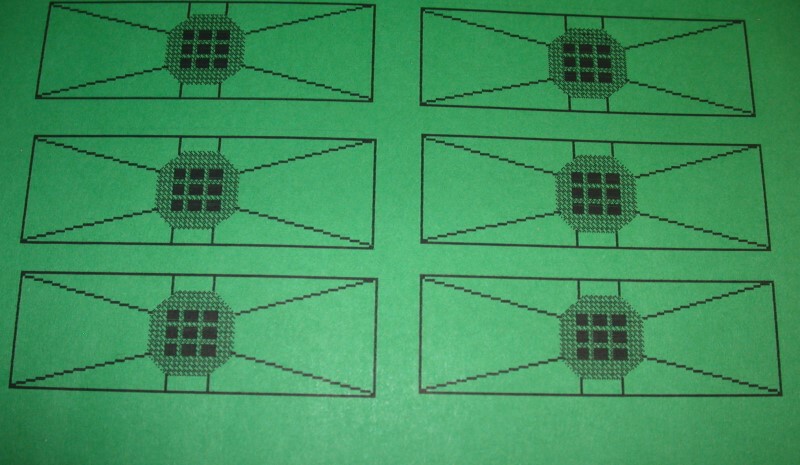
Most of the papers I designed using small graphics program on my computer. The trickiest part of this stage was getting the size right. If you get it a bit too small then some of the glass slide shows and if you get it a bit too large then you have to take a very sharp scalpel and trim the paper down. The trimming is best done after the paper has been glued to the surface of the slide and the glue has completely dried. However, especially with certain designs, it is best not to have to any trimming at all. One of the first things I learned is that not all inkjet papers are made equal and, as it turns out, the type of paper is crucial. Also the sort of adhesive that one uses has to have the right properties for the paper you select; in other words, they have to match in several respects. If the paper is too thin the glue may soak through it. If the paper is too thick or the glue too thin, the paper may not adhere to the slide properly. The paper also has to have the right sort of surface so that you can have the ink from your inkjet printer dry and set properly without smearing. The paper which I finally chose is distributed under the Great White brand name. It is described as Imaging & Photo Paper, Matter Finish, Ultra White, 92 Brightness, is Extra Heavy Weight (37 ob.), Specially Coated and is Acid-Free. It has served me well and all of the examples of slides which I will show you here are at least 10 years old.
Once I had the program configured, I decided to print sizeable batches of slide papers for future use. Here are some images of slide papers which have not yet been cut or mounted to give you an idea of the variety one can get with a simple graphics program.
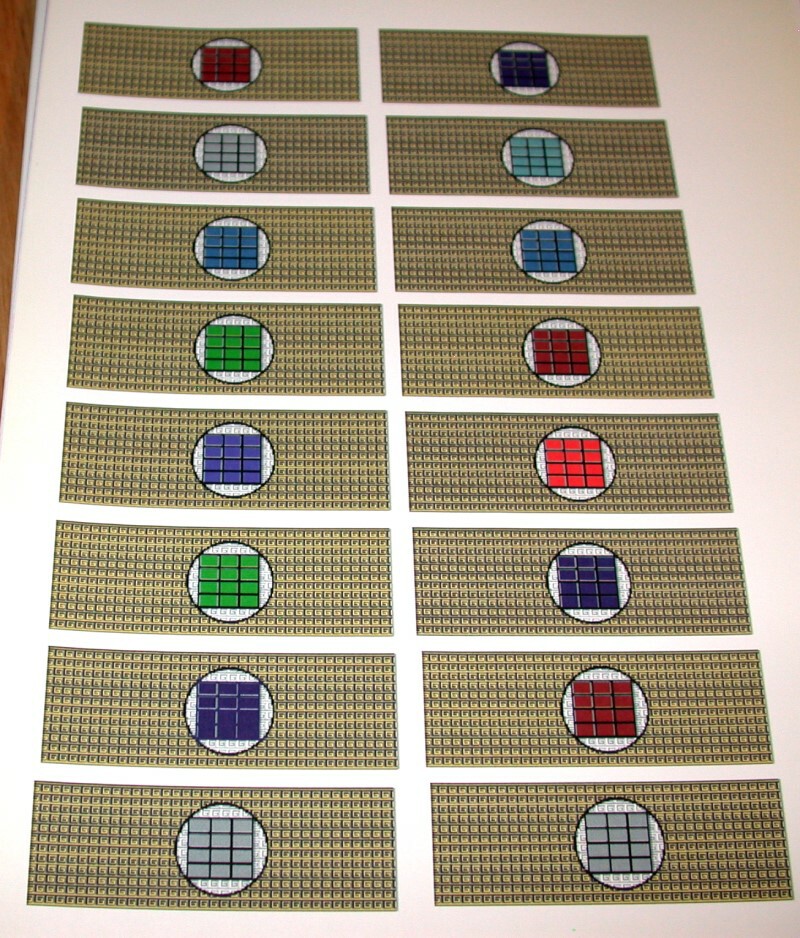
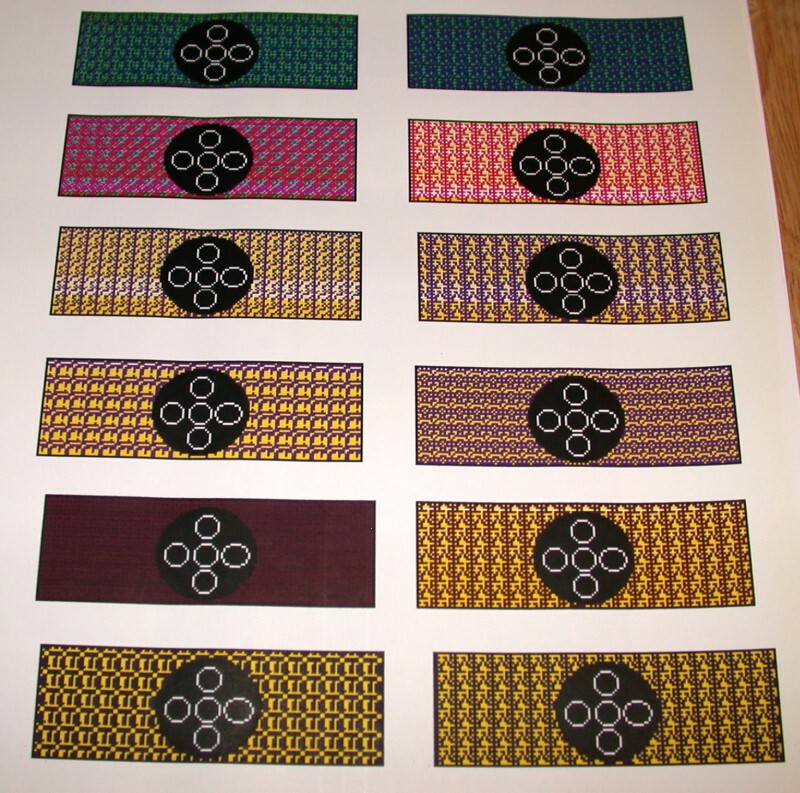
The next problem was an adhesive. Epoxy glues are too expensive and difficult to work with, especially if you are going to make more than a handful of slides. Wood glues for furniture are generally too thick. If you use a glue with a volatile solvent, such as acetone, you run the risk of the solvent leaching through and affecting the ink color on the paper. In addition, you have the issue of flammable and toxic fumes. I first tried the standard school/craft type of Elmer’s white glue, a version of which almost everyone is familiar with. This was not altogether satisfactory. Then I discovered that the same company had introduced a new version which is a gel with a light bluish tinge; furthermore, it is water soluble and dries clear. I found all of this rather appealing, because gel suggested a medium that would not be absorbed too quickly thus allowing time to position the paper precisely on the slide. As it turns out, both of my conjectures were true and this has become my standard adhesive. (I think they should give me a grant to support my slidemaking since I’m mentioning their product, but that’s not the corporate way.) For mounting the papers, I usually dilute the gel down with distilled water to between 50 and 75 percent. For mounting rings to create cells, I usually use it full strength.
What’s all this about cells? Quite often a specimen is too thick or too fragile to mount directly on a slide in a mounting medium with a cover glass. So, traditionally, microscopists used a small turntable for “ringing” the slide and building up a cell.
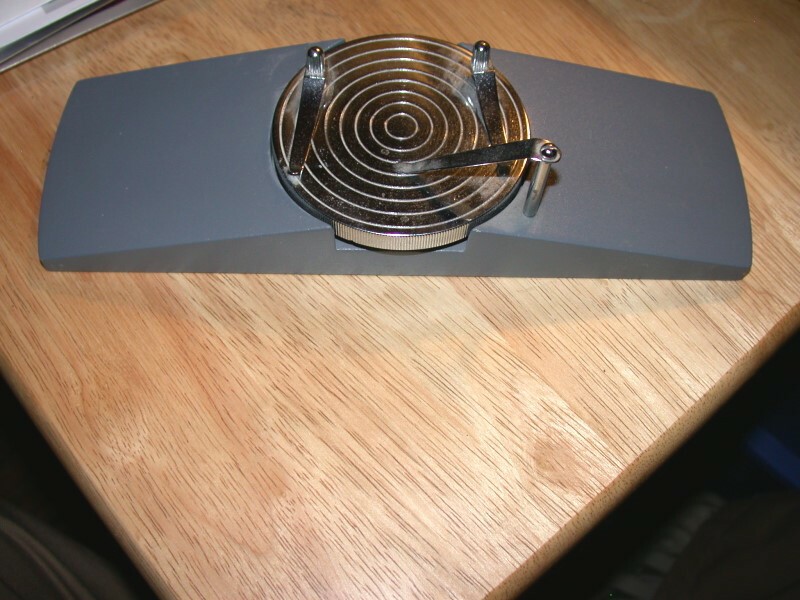
A slide is centered on the turntable and the wheel is spun. A small fine-pointed brush dipped in an appropriate varnish is then used to make a thin ring on the slide. Usually, after the ring dries, another or several applications of varnish follow until the “cell” has sufficient depth to mount the specimen safely. Creating such circular cells is not something that any sane person wants to attempt without a slide-ringing turntable. My attempts at freehand cells always looked like squashed ovals that some demented chicken had produced. At the time that I made most of the papered slides, I didn’t have a turntable and have only recently acquired one which I haven’t yet found the time or courage to try out.
As a consequence, I followed a traditional principle of slidemakers which I modified by using more modern materials as a means of creating cells. Nineteenth Century mounters would employ solid rings of various sizes and depths. Rings of wood, bone, and ivory were employed. In the 20th Century, rings of glass, plastic, and metal, especially aluminum were used. I decided that this was definitely the path to follow and so I began making visits to local hardware stores and craft shops.
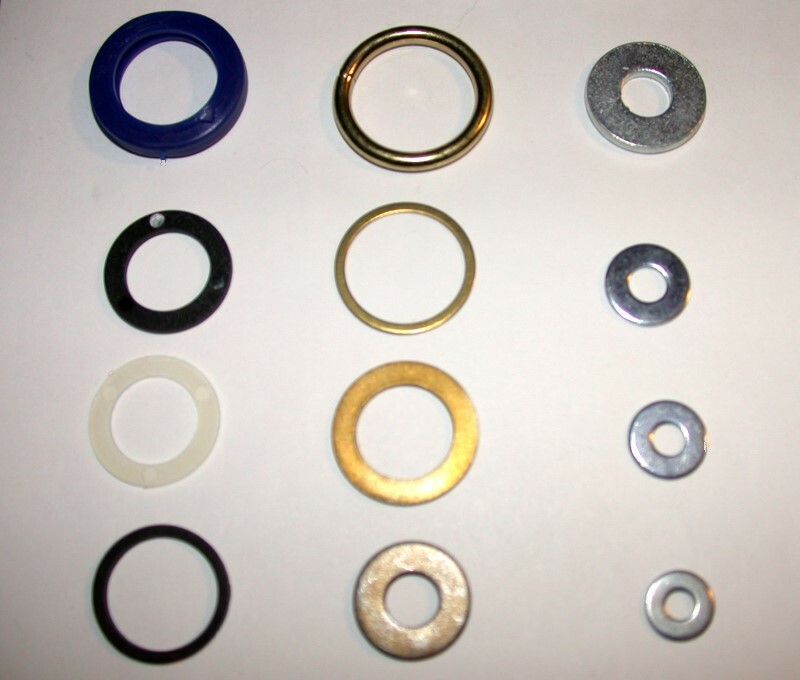
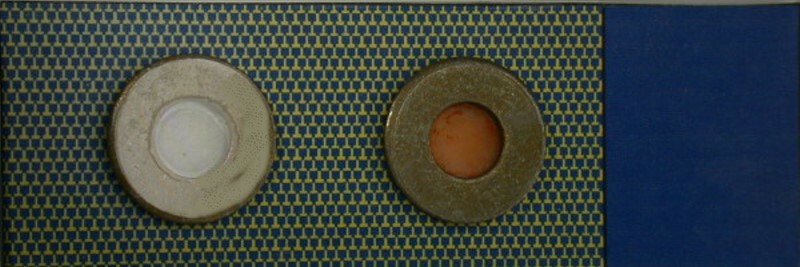
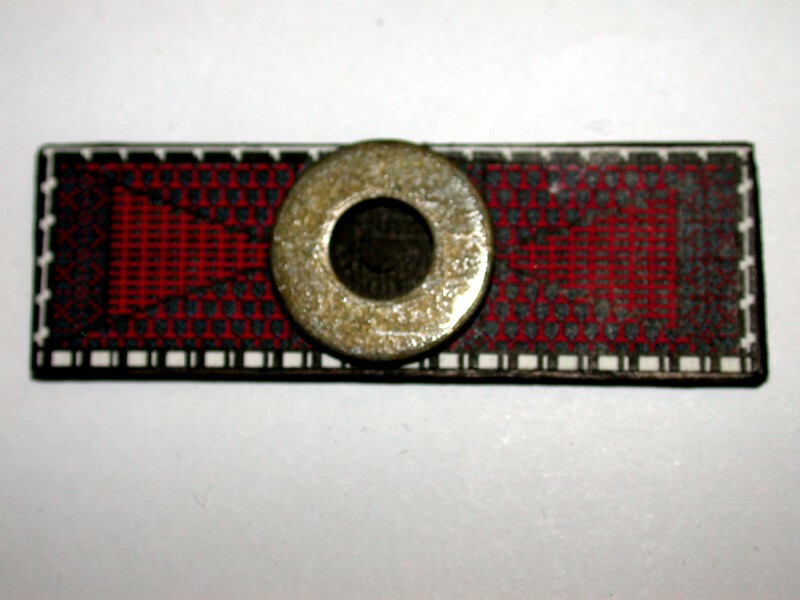
As you can see, I tried a variety of types including steel washers, brass, neoprene, and rubber “O” rings which were the least satisfactory. The different sizes and depths prompted me to try out a fairly wide range of specimens.
This first image is of a standard size slide where I used 2 small washers rather than just a usual single large one.
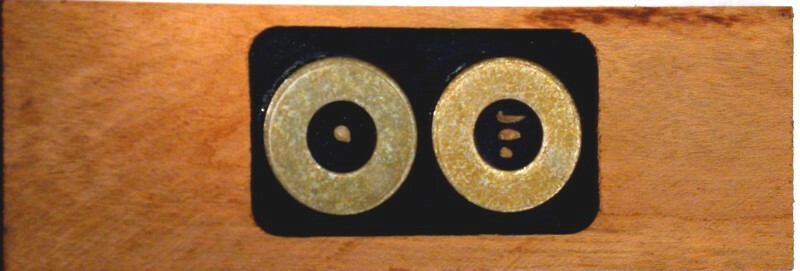
The next slide is made of wood and is of standard size. Once again, I used 2 small washers.
Thirdly, you can see a comparison between a standard slide and the Bourgogne-type miniature slide.
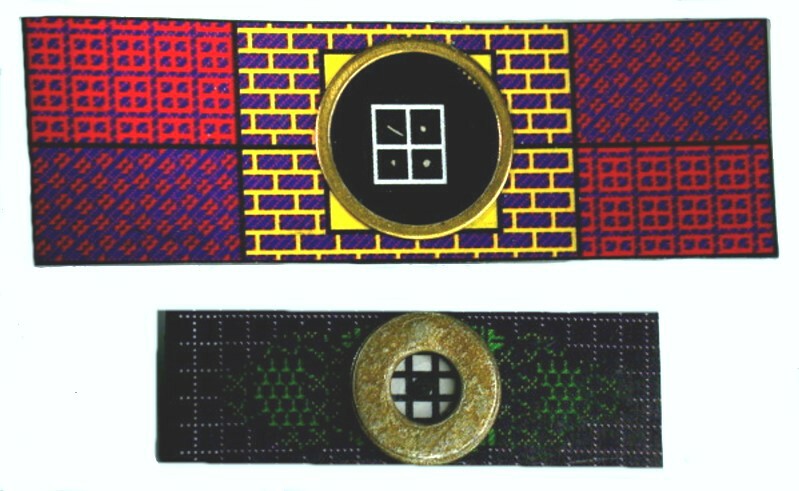
The small washers would, I decided, look silly on a standard 1" x 3" slide and so I attempted some miniatures somewhat in the Bourgogne style. This, of course, meant setting up another graphic template on my computer to print smaller papers. However, an even more important issue was–what was I going to mount the papers on?
I was not going to mount them on glass for 3 reasons: 1) I was not going to learn the techniques of glass cutting to end up with glass fragments scattered all over the house and embedded in various parts of my anatomy. 2) I couldn’t buy any ready cut glass of that size. 3) Having a local glazier cut slides to my specifications was prohibitively expensive. So, in the end, I opted for wood, but since I was going to cover it up, I wanted something inexpensive and easy to work with. I went to my local pharmacy to inquire whether or not they would sell me some tongue depressors. My request elicited a somewhat bewildered look, but I was informed that indeed I could purchase a box–a box of 500 which fortunately was less than $10 and since I can get 2 or sometimes 3 slides per depressor, I can make a lot of slides and still have enough depressors left over to check guests for strep throat. Once I had papered 2 or 3, I decided that I couldn’t leave the back as just plain pine. The wood is fairly smooth–after all your physician doesn’t want to be sued for malpractice for leaving splinters in your tongue–so, I decided to paint the bottoms of the slides. Another visit to a craft store where I bought some small bottles of black, silver, gold, and brown paint. I decided that the silver was a bit too shiny for my taste, so know just use black, brown, or gold. Traditional mounters often papered the entire slide, but I’m lazy and settled for just doing the tops. Also, there is the consideration that I can’t even wrap a books as a Christmas present that doesn’t look like it had been done by a 3 year old child.
So, what specimens did I place in these wee cells on miniature slides which I made for Neo-Victorian women and children interested in microscopy? Here are six examples. I’ll show you the miniature papered slide followed by a closeup of its content.
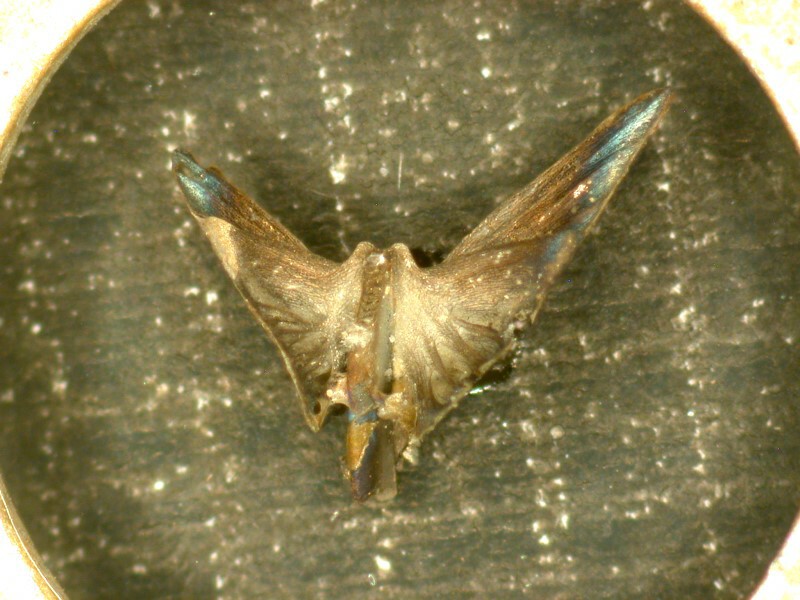
1) This is a “bird” of sorts; it is one of the five parts of the lantern which are the jaw parts of a sand dollar. It has been treated with silver nitrate using a technique which I describe in an earlier article. Interestingly, after sitting for several years, it has develop a slight patina in places.
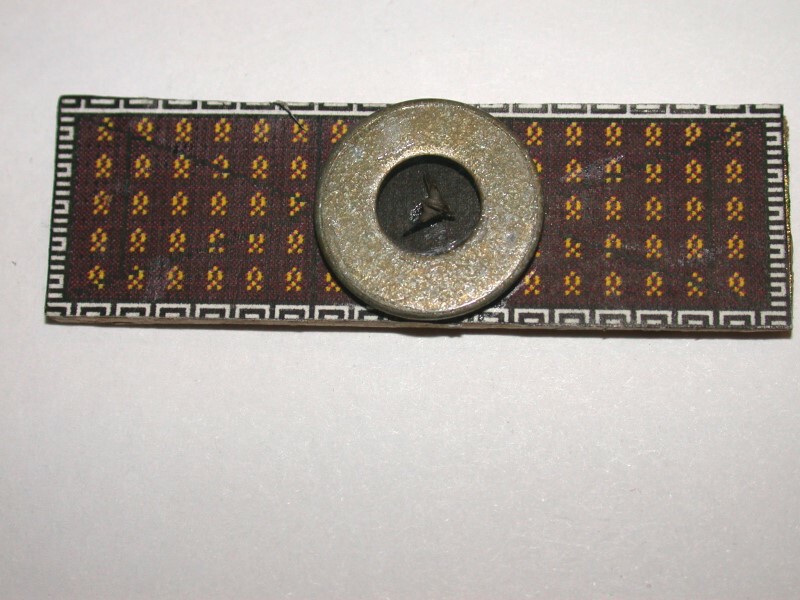
2) This is a tiny fossil brachiopod which bears a slight resemblance to certain types of Greek oil lamps.
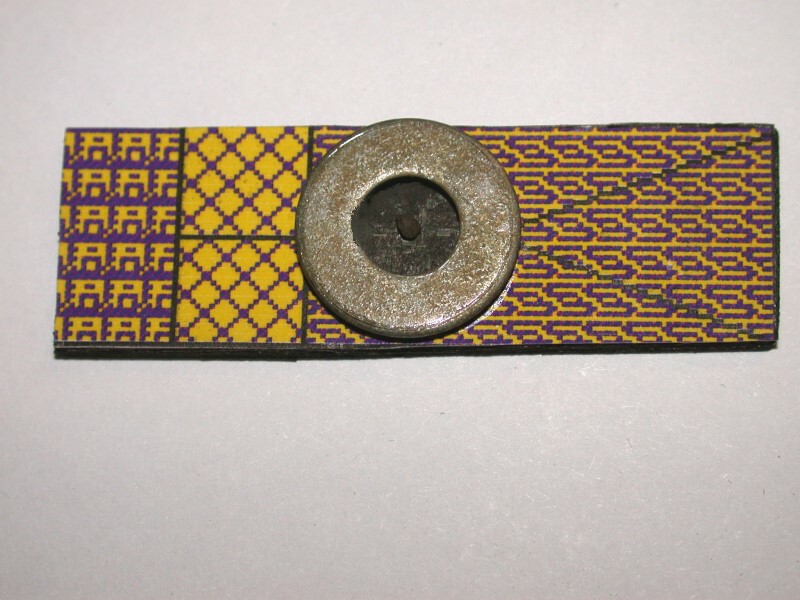
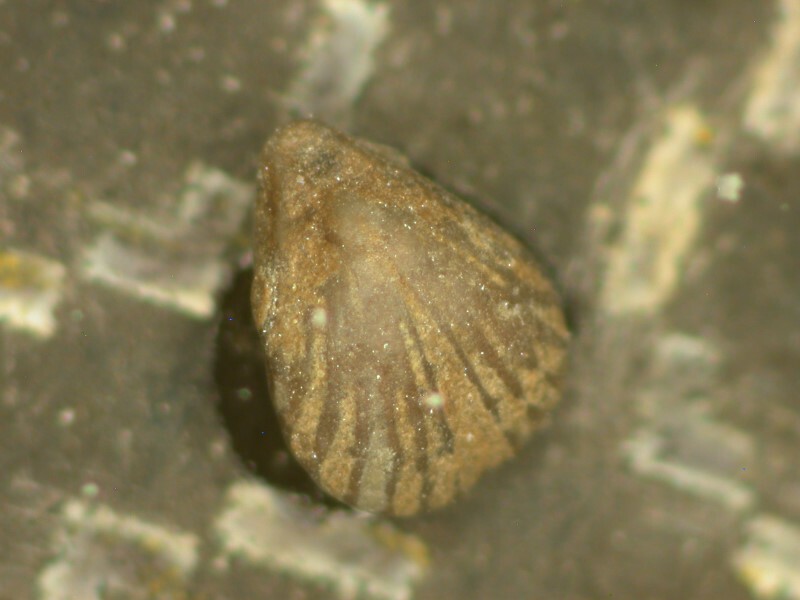
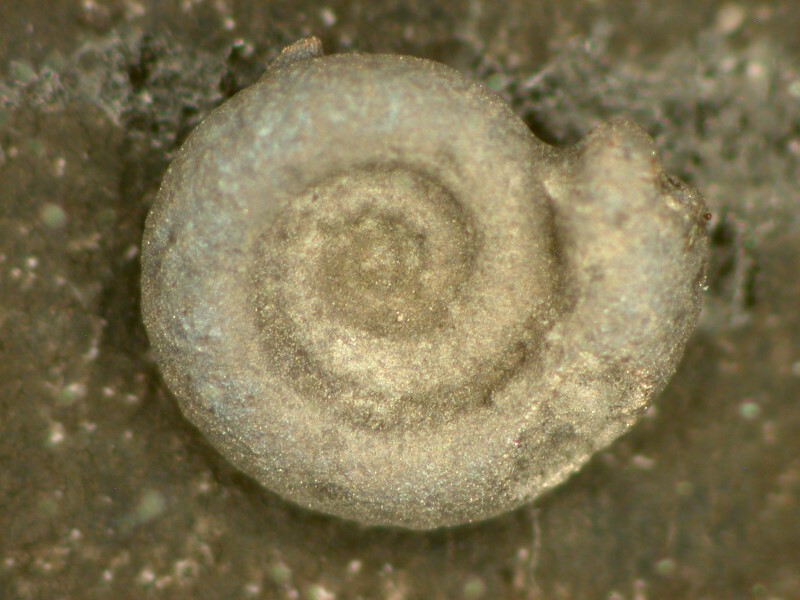
3) Another small fossil, in this case, a snail which has also been “silverized”. You will note it also has some specks of patina on it.
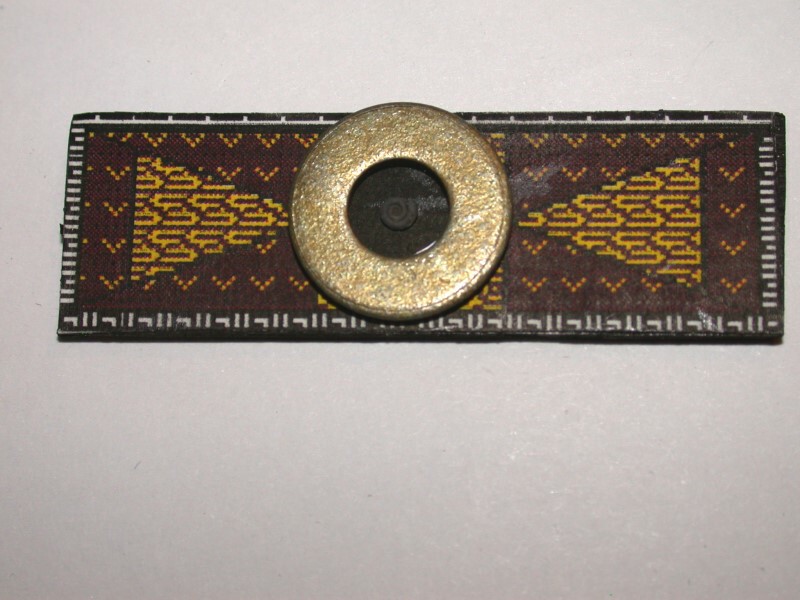
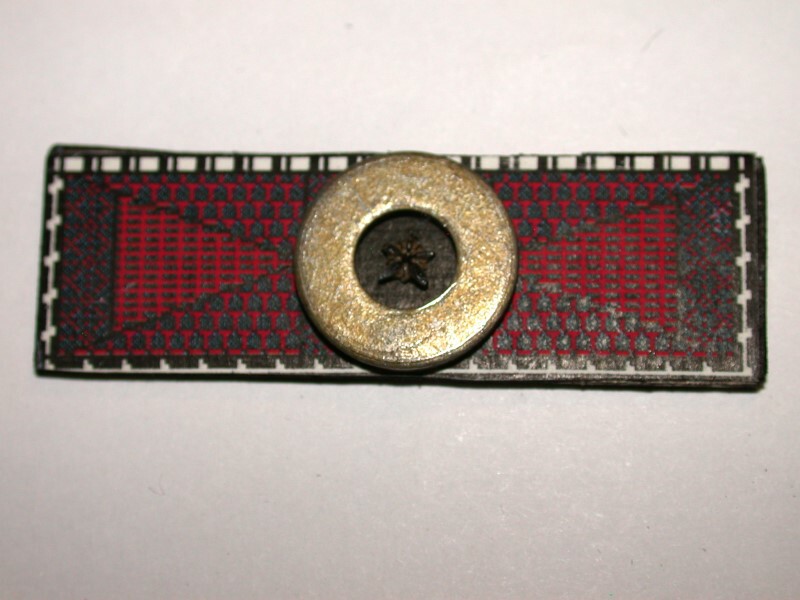
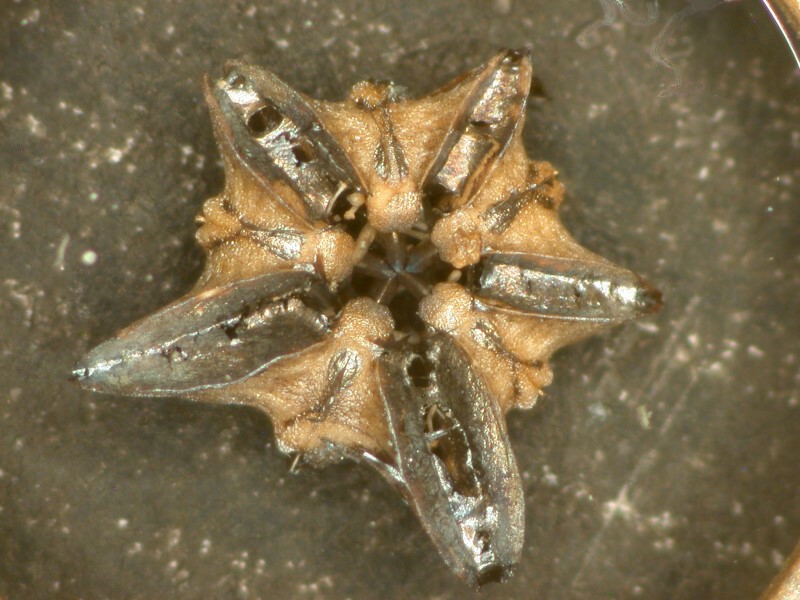
4) Here we have an entire lantern (or the mouth parts) of a sand dollar. This too has been silverized and there is a nice contrast of a gold color with the silvery color in the furrow which still have bits of fibrous tissue across part of them. The tips of the teeth down in the center also show a bit of greenish patina.
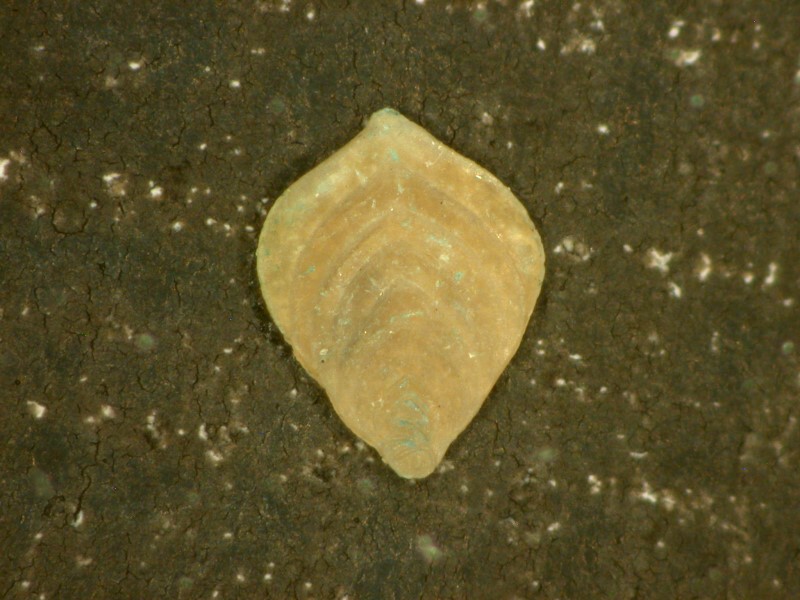
5) This is the “test” or “shell” of a fossil foram, which is a marine amoeba. This type is described as palmate due to its shape.
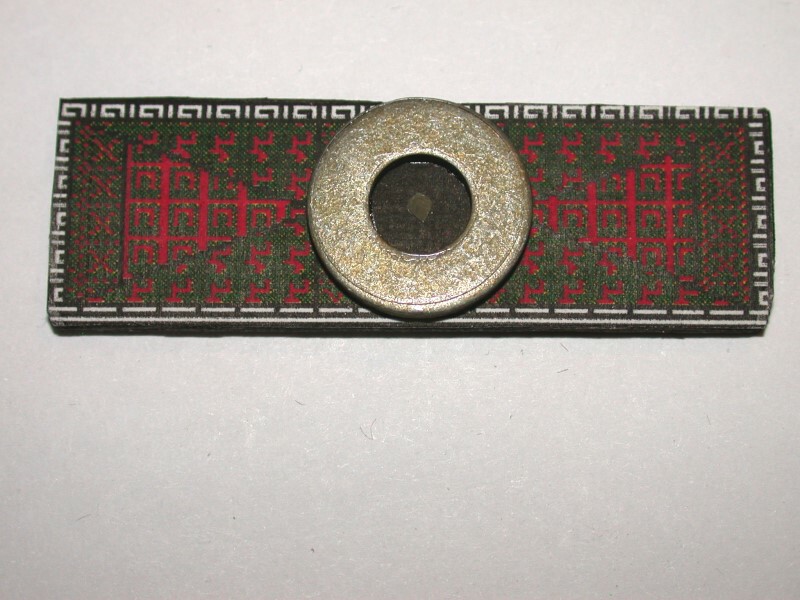
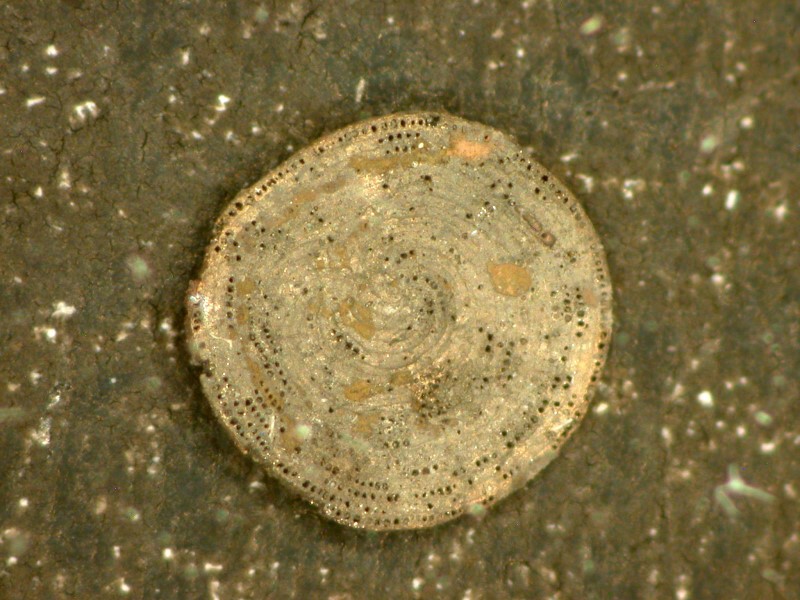
6) This is another foram, in this case, a circular one which has been treated with silver.
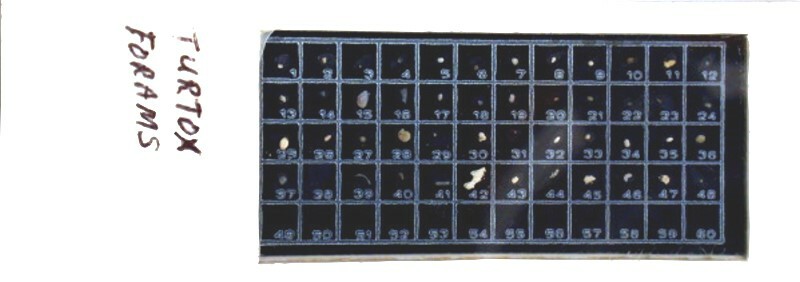
Next, I decided I wanted to use some very thin brass rings to mount some forams and radiolaria. The traditional paleo slides are rather bleak, yet highly servicable, but have nothing like the elegance of those made by Brain Darnton. Rather than giving you a long-winded description of one of the grids of a paleo slide, I’ll just show you an example. These are still available from biological supply houses and there is this variety which has 60 squares and another type without a grid which has a single black circle in the center.
And here are 2 closeups. On this slide I primarily mounted fragments of fossil crinoid stems along with a few bryozoan fragments.
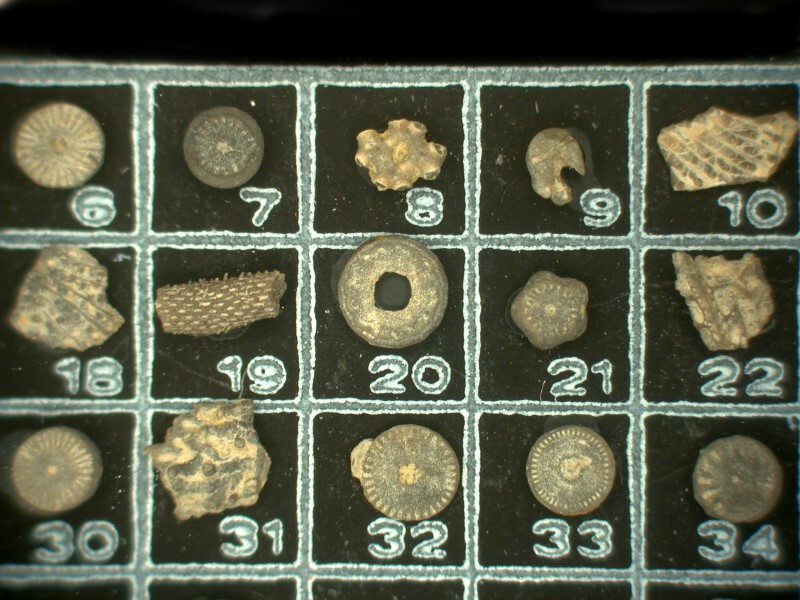
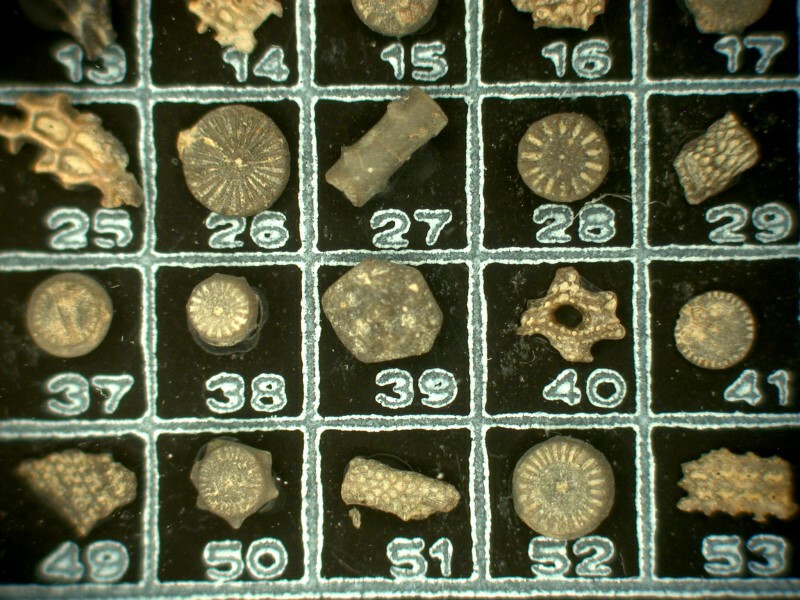
The black background is helpful in providing better contrast to show up the detail in most forams and radiolaria. Most of them are thin enough that they don’t require a deep cell for mounting. (However, when it comes to photographing them, one soon discovers that they are thick enough that depth of field becomes a significant factor. The problem is usually resolvable only by the use of layered composite images.)
For my own slides, I made some papers which allowed for groupings, but with no nearly as many specimens. In the 4 examples below, there are 12, 5, or 8 specimens.
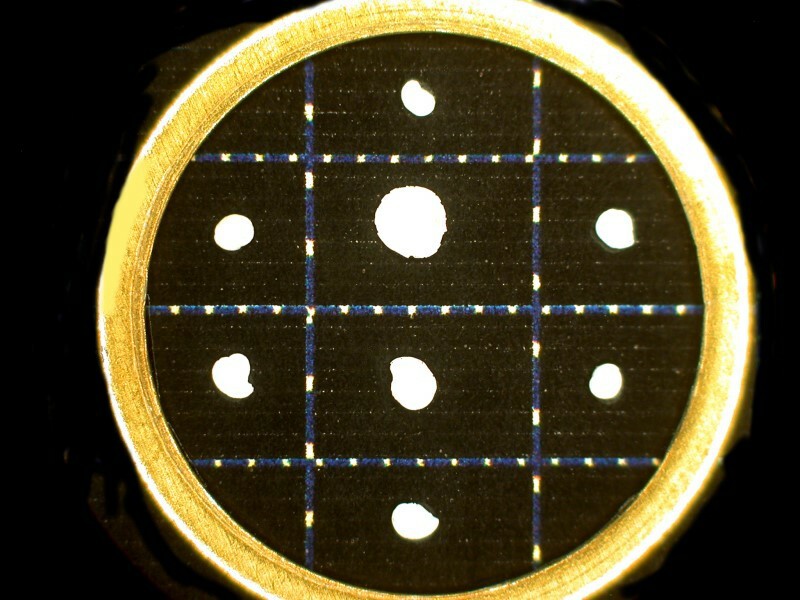
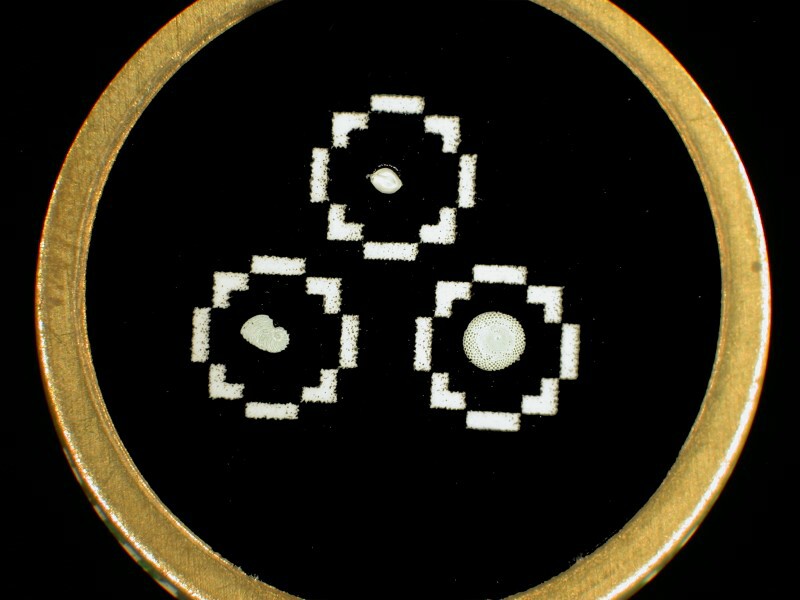
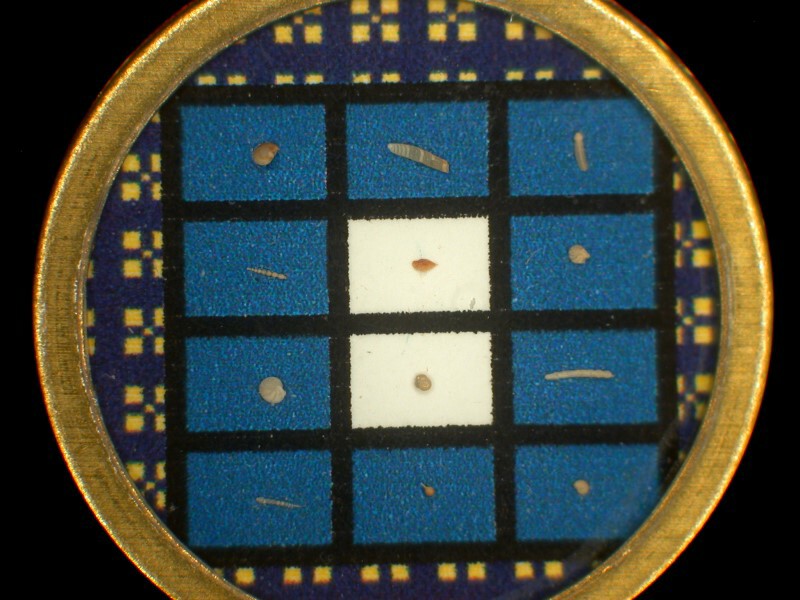
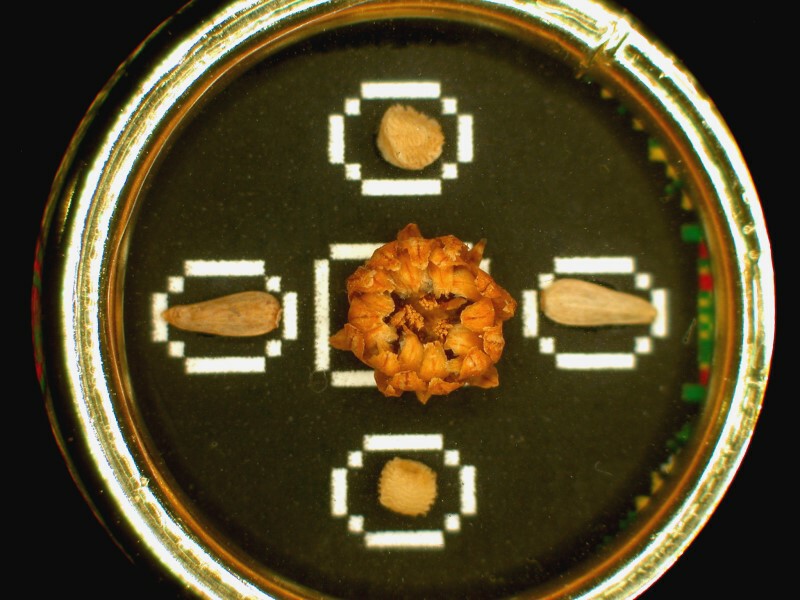
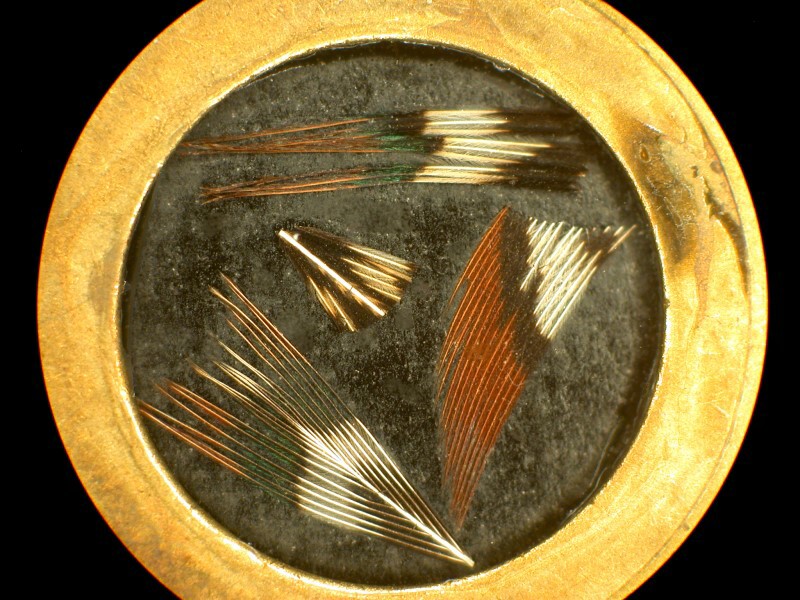
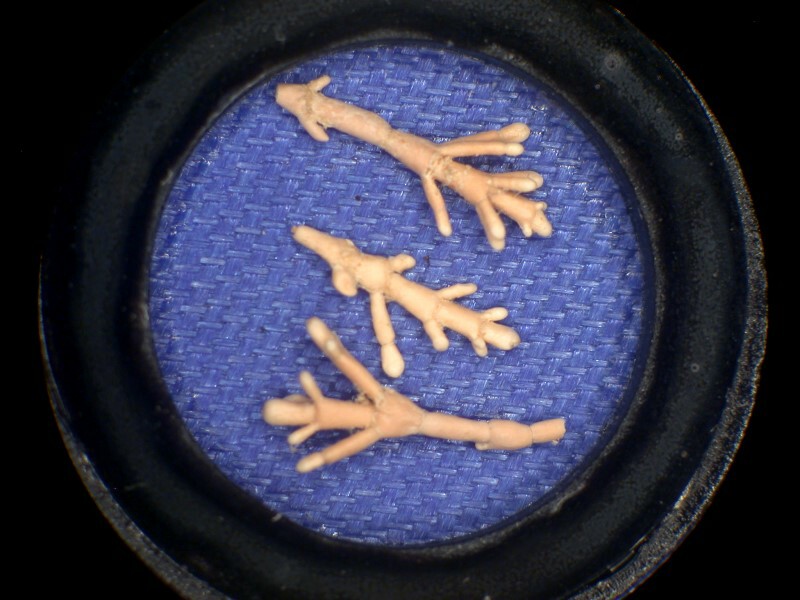
Of course, it is not necessary to have a grid at all to make small arrangements. I’ll show you 6 examples.
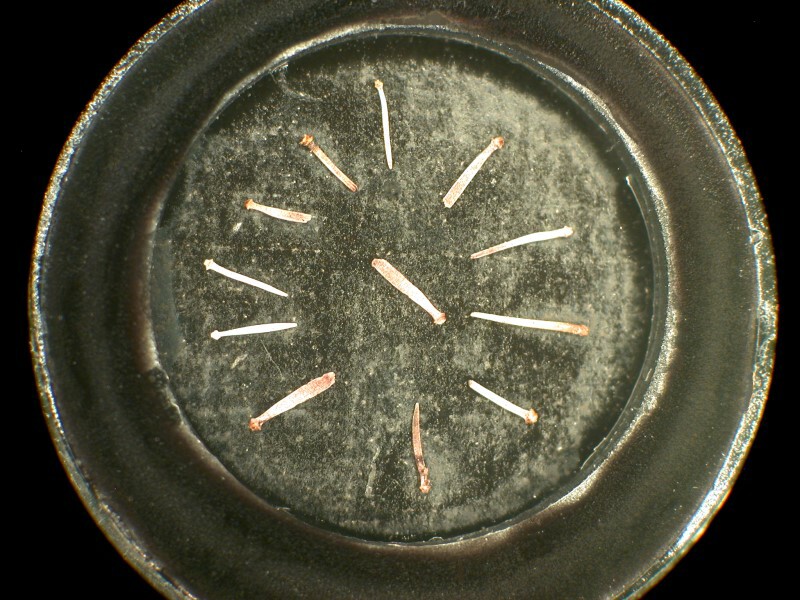
1) This image is a group of loosely arrange feathers which are quite colorful and are shown to advantage on this black background within the surrounding brass ring.
2) Here we have some bits of calcareous algae mounted on a slide which has been covered with cloth rather than paper.
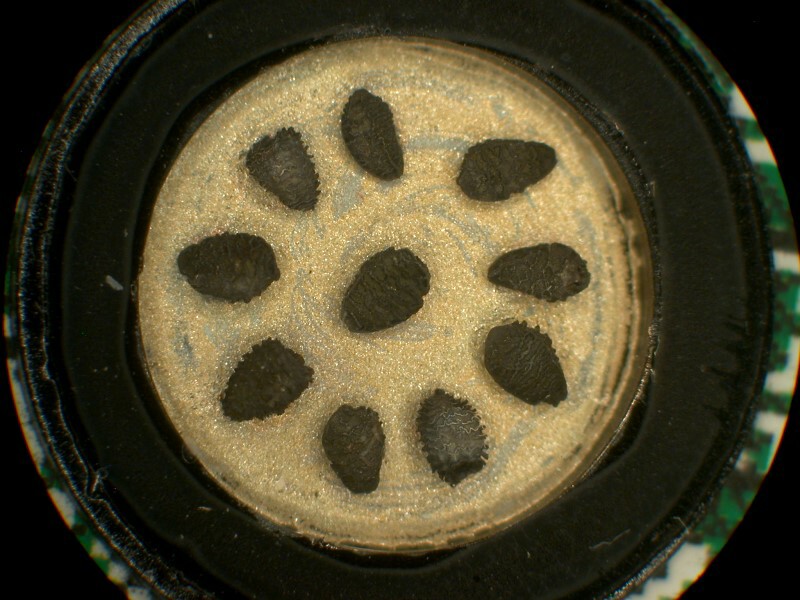
3) Here I place a small grouping of seeds on a background which I covered with gold-colored paint.
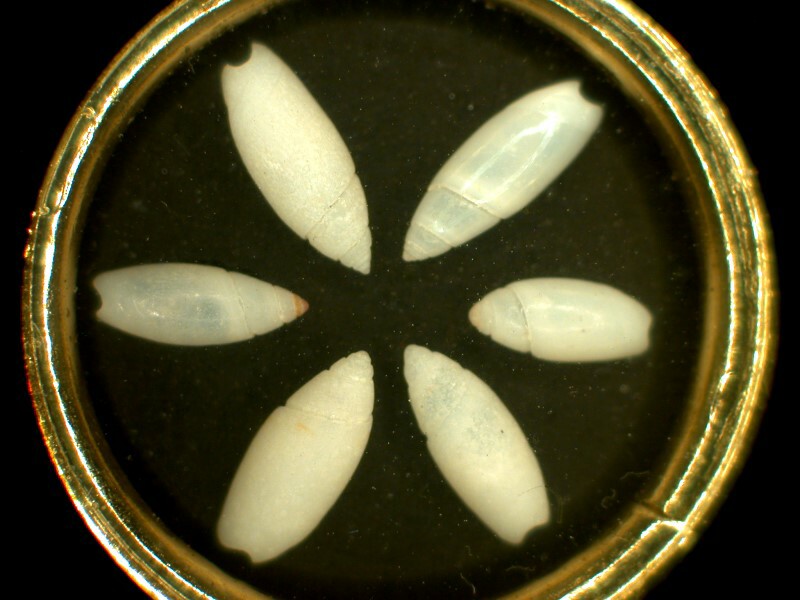
4) A rather pleasing and simple arrangement of shells.
5) A group of secondary echinoid spines.
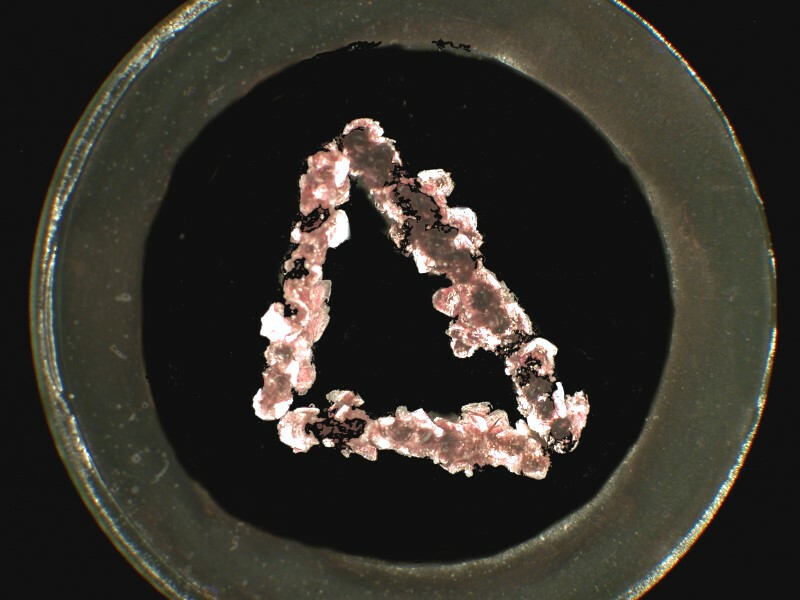
6) One day I got curious about the dregs in a bottle of red wine. I discovered some crystals and here are 3 of them mounted in the rough shape of a triangle.
The brass rings I find quite attractive and I discovered a second kind that is thicker for the intermediately thick specimens and then my wife found some yet thicker rings at a craft store and these have sufficient dept to mount tiny whole starfish and sand dollars.
This first starfish is, however, mounted in a black nylon ring and the second one in one of the thicker brass rings.


The first sand dollar is quite dark because it still has its spines whereas the second one has been treated with bleach to remove the spine and reveal the pattern of the shell beneath.

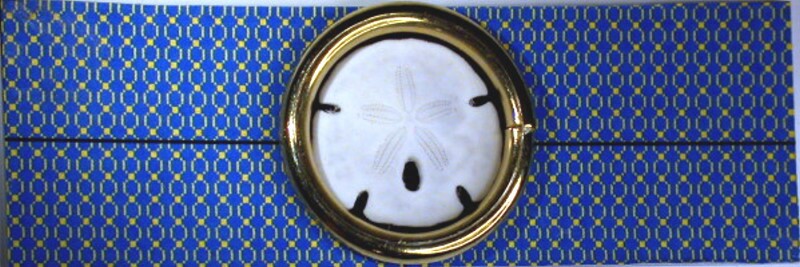
Earlier, I tried to make deeper cells by gluing 2 brass rings together and that was a disaster, so I was very pleased to have these large ones.
The neoprene rings come in black and white and once when the store was out of the black ones, I bought a few of the white ones, but I don’t like them much. The specimens are forams called Nummulites gihezensis and examples several inches long can be found. They are evident in the Nummulitic limestone which was used to build the Egyptian pyramids.
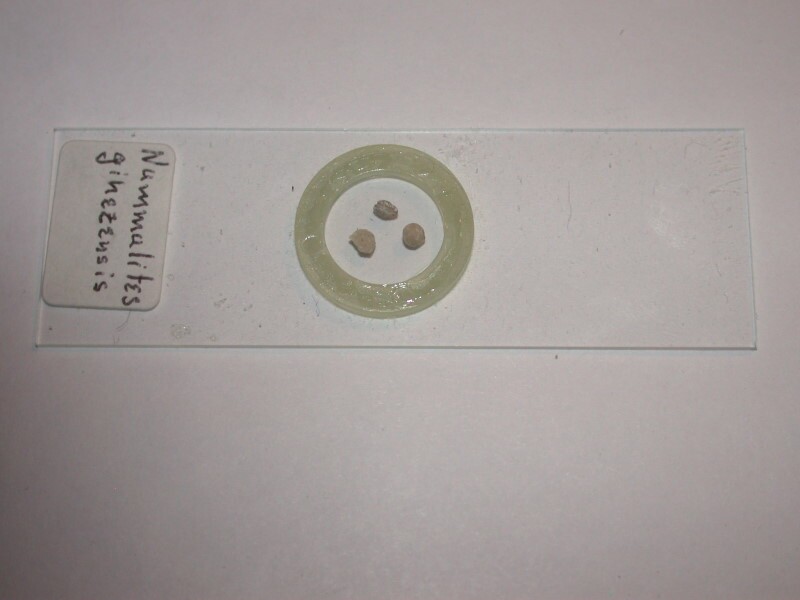
Overall these rings are less satisfactory to work with and aesthetically less pleasing that the brass rings, but they are serviceable and less expensive.
One other type of slide which I tried out was wood with partially drilled holes or troughs. I already showed you one and I’ll repeat it here. The single specimen on the left is a fossil brachiopod and the 3 on the right are forams.
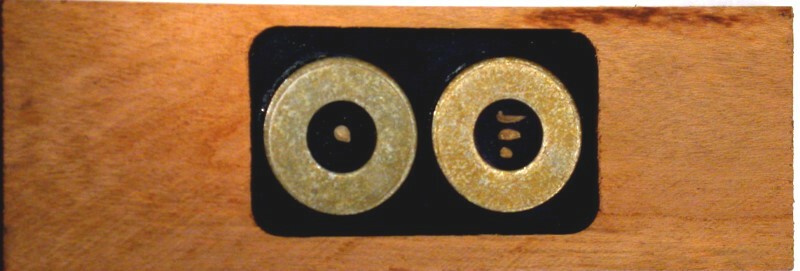
My good friend, Mike Shappell, who is exceptionally handy with tools, had some very nice scraps of walnut and using drills and routers produced these very nice “blanks” to which I added some rings. Then he and his family moved from Wyoming to Washington State and more recently to Japan and my source for these blanks evaporated.
The Victorian mounters made one other kind of mount that is rather rarely made today and the Victorian examples are still highly prized, namely, fluid mounts. This is something I will never attempt. The specimens in such mounts were usually quite delicate ones that would suffer significant damage if run through the traditional procedures of dehydration to absolute alcohol or turpentine derivatives to mount them in Canada Balsam.
First, you have to make a cell of the proper depth, then you need to decide on an appropriate fluid in which to mount your specimen. Clearly, you can’t just toss them in water, seal the slide with a cover glass and multiple coats of varnish and hope for the best–well, you can but I don’t’ think it’s advisable. Often camphor water or glycerine were used for such mounts and some of those that were properly sealed have survived over a century and are truly elegant.
I”ll conclude by showing you a series of examples of slides some with specimens and some just prepared and ready for specimen mounting.
1) Small shells extracted from the muddy debris around the base of a glass sponge (Euplectella aspergillum) and includes a small snail shell, forams, 2 ostracod shells, and the degenerate shells of pteropods which are “sea butterflies”. They are pelagic and in order to adapt to free swimming have greatly reduced their shells (in some groups, they have disappeared completely) and have modified appendages called parapodia that act like wings to move them through the water. They are lovely and mysterious creatures.
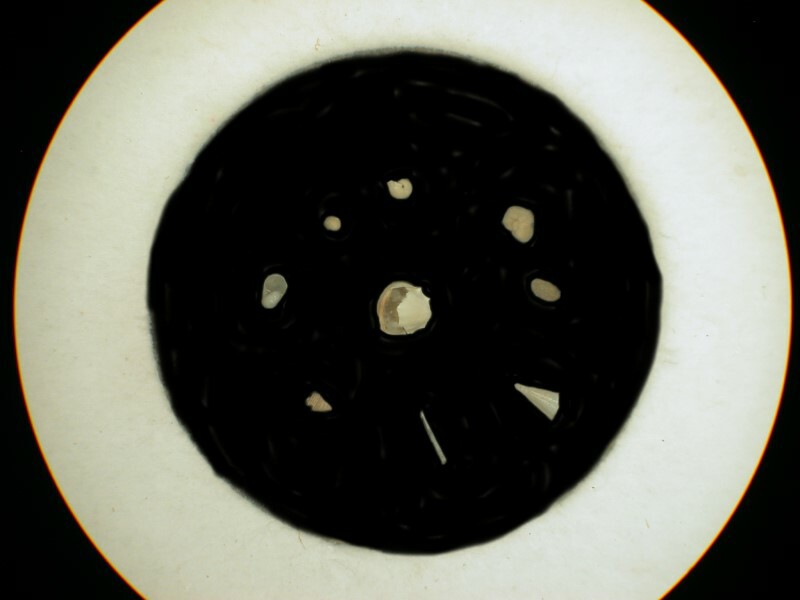
2) A section of the stem of a fossil crinoid mounted in a steel ring which in turn is mounted in a brass ring. A single cover glass covers both rings.
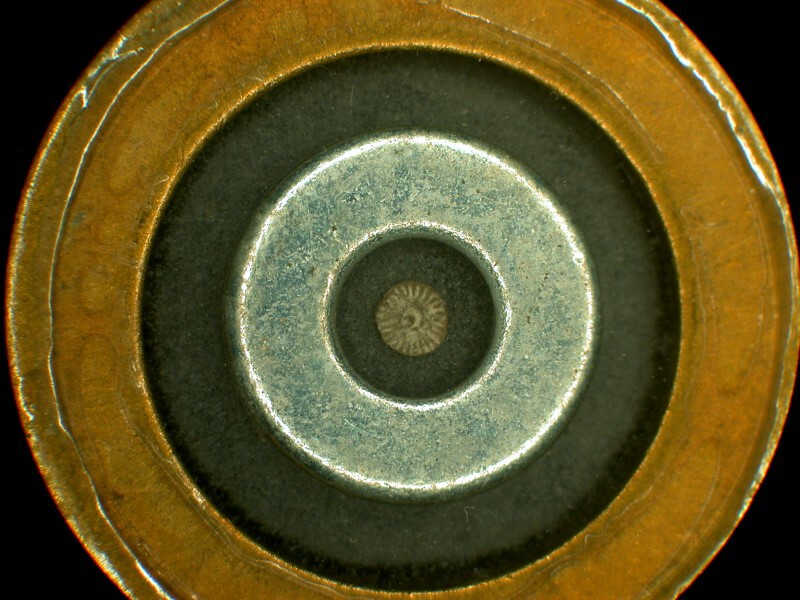
3) Cross section of a fossil foram (Triticites) on a slide papered with a commercially printed craft paper which is fairly sedate an a second image of a section containing a number of specimens of Triticites on a paper which tends more toward the Rococo.
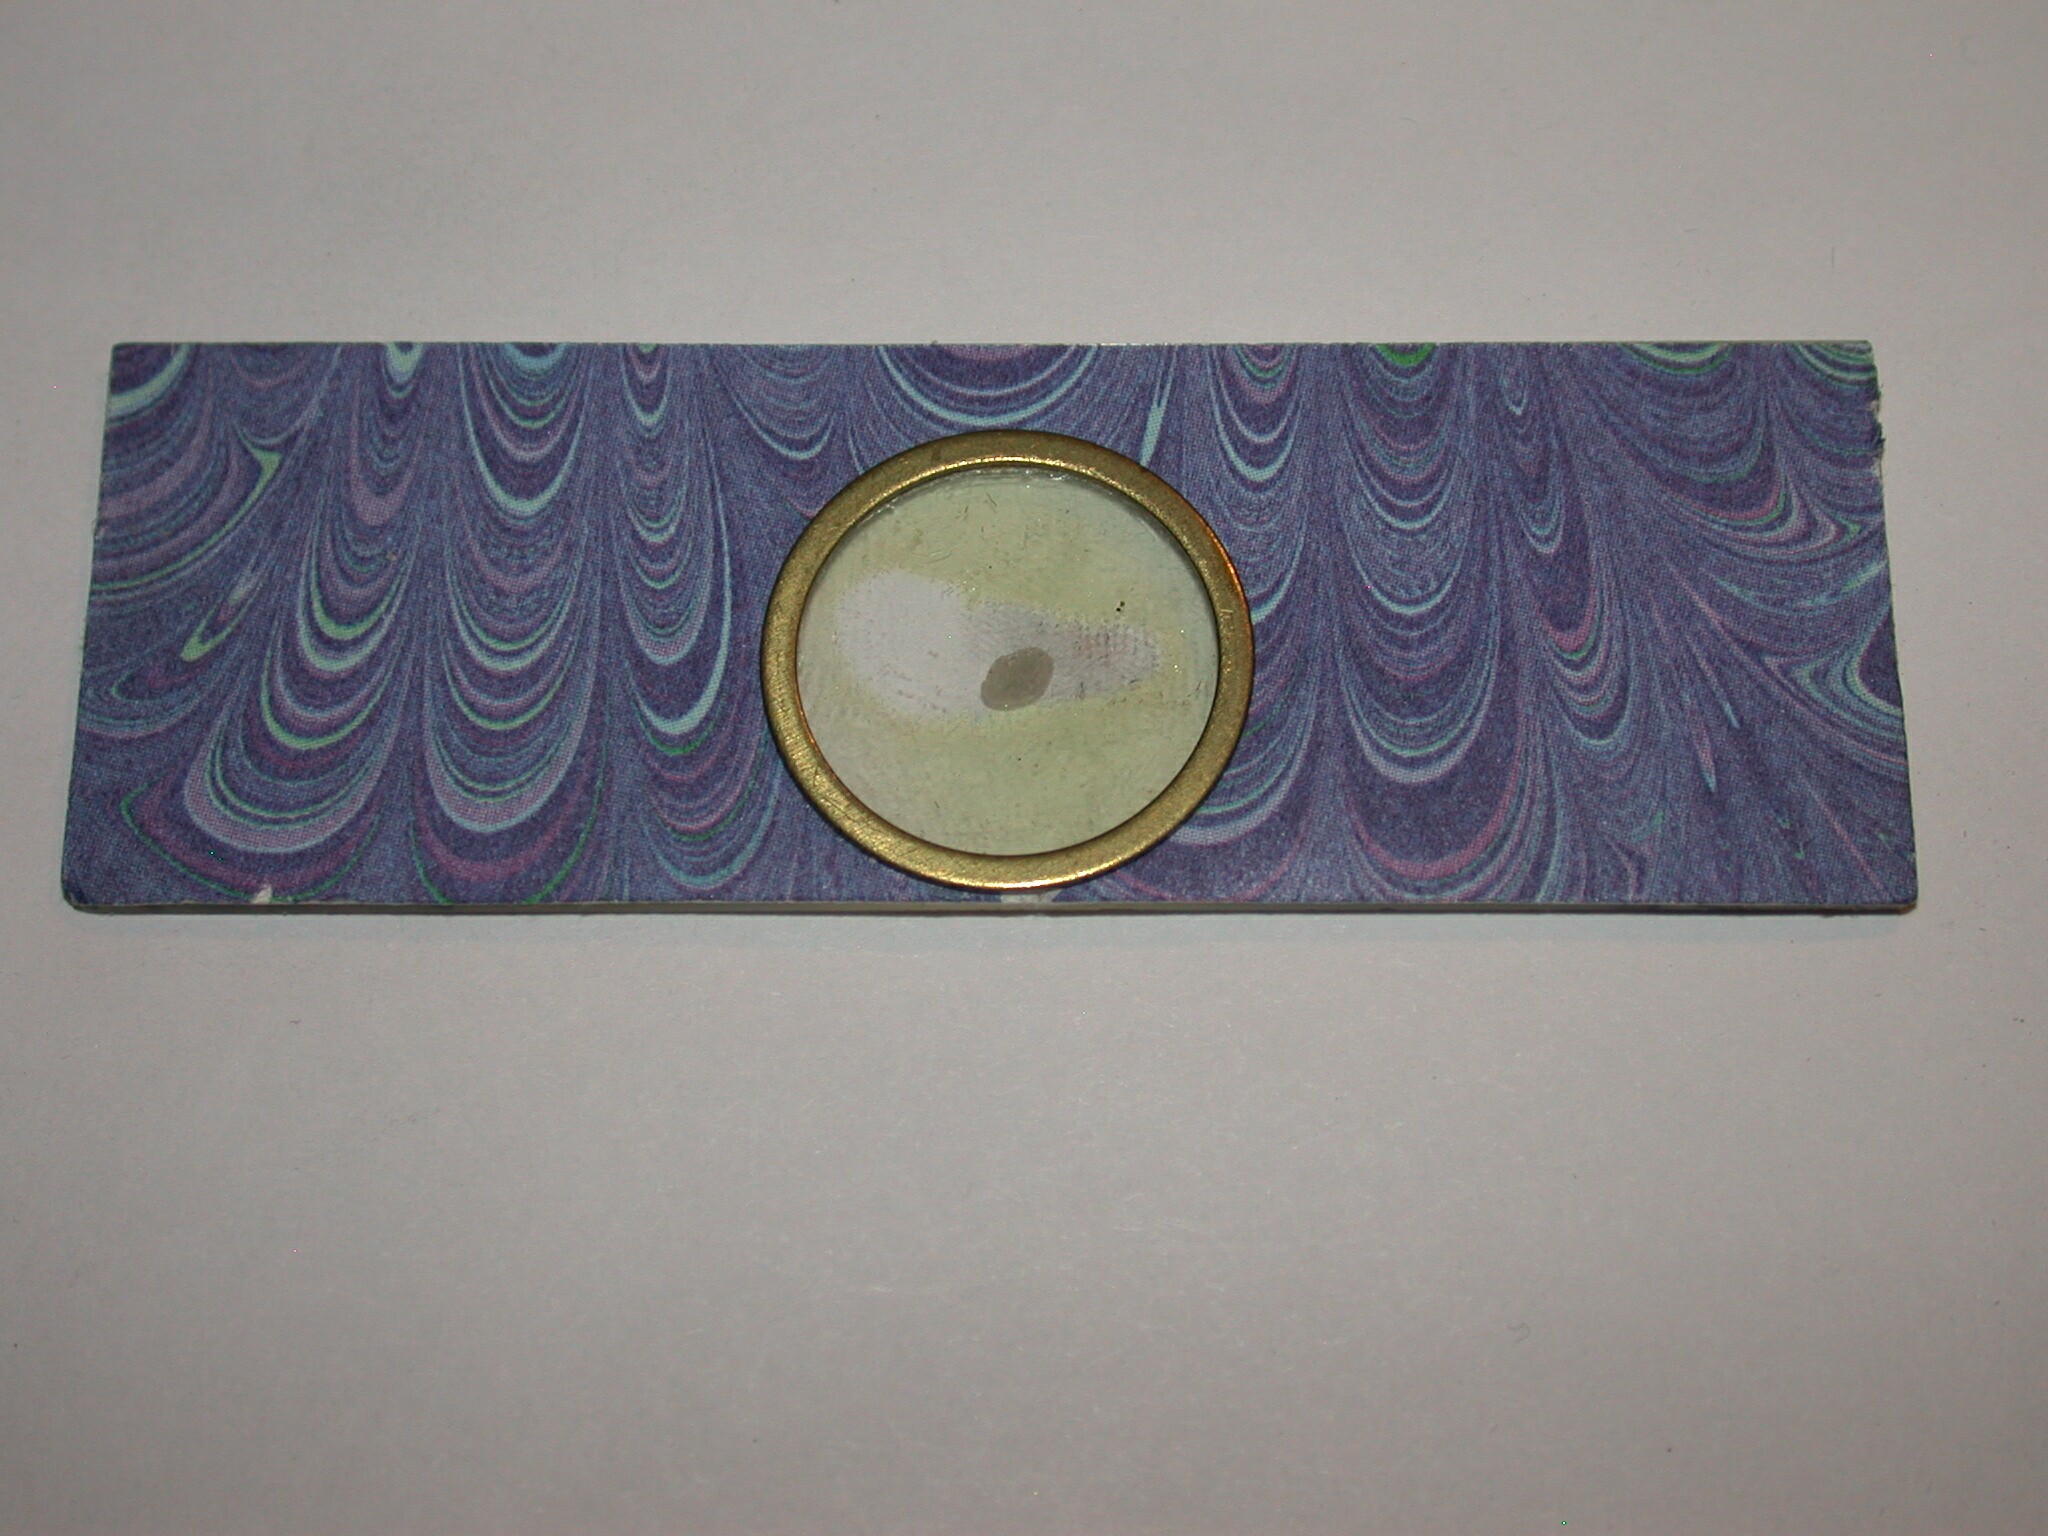
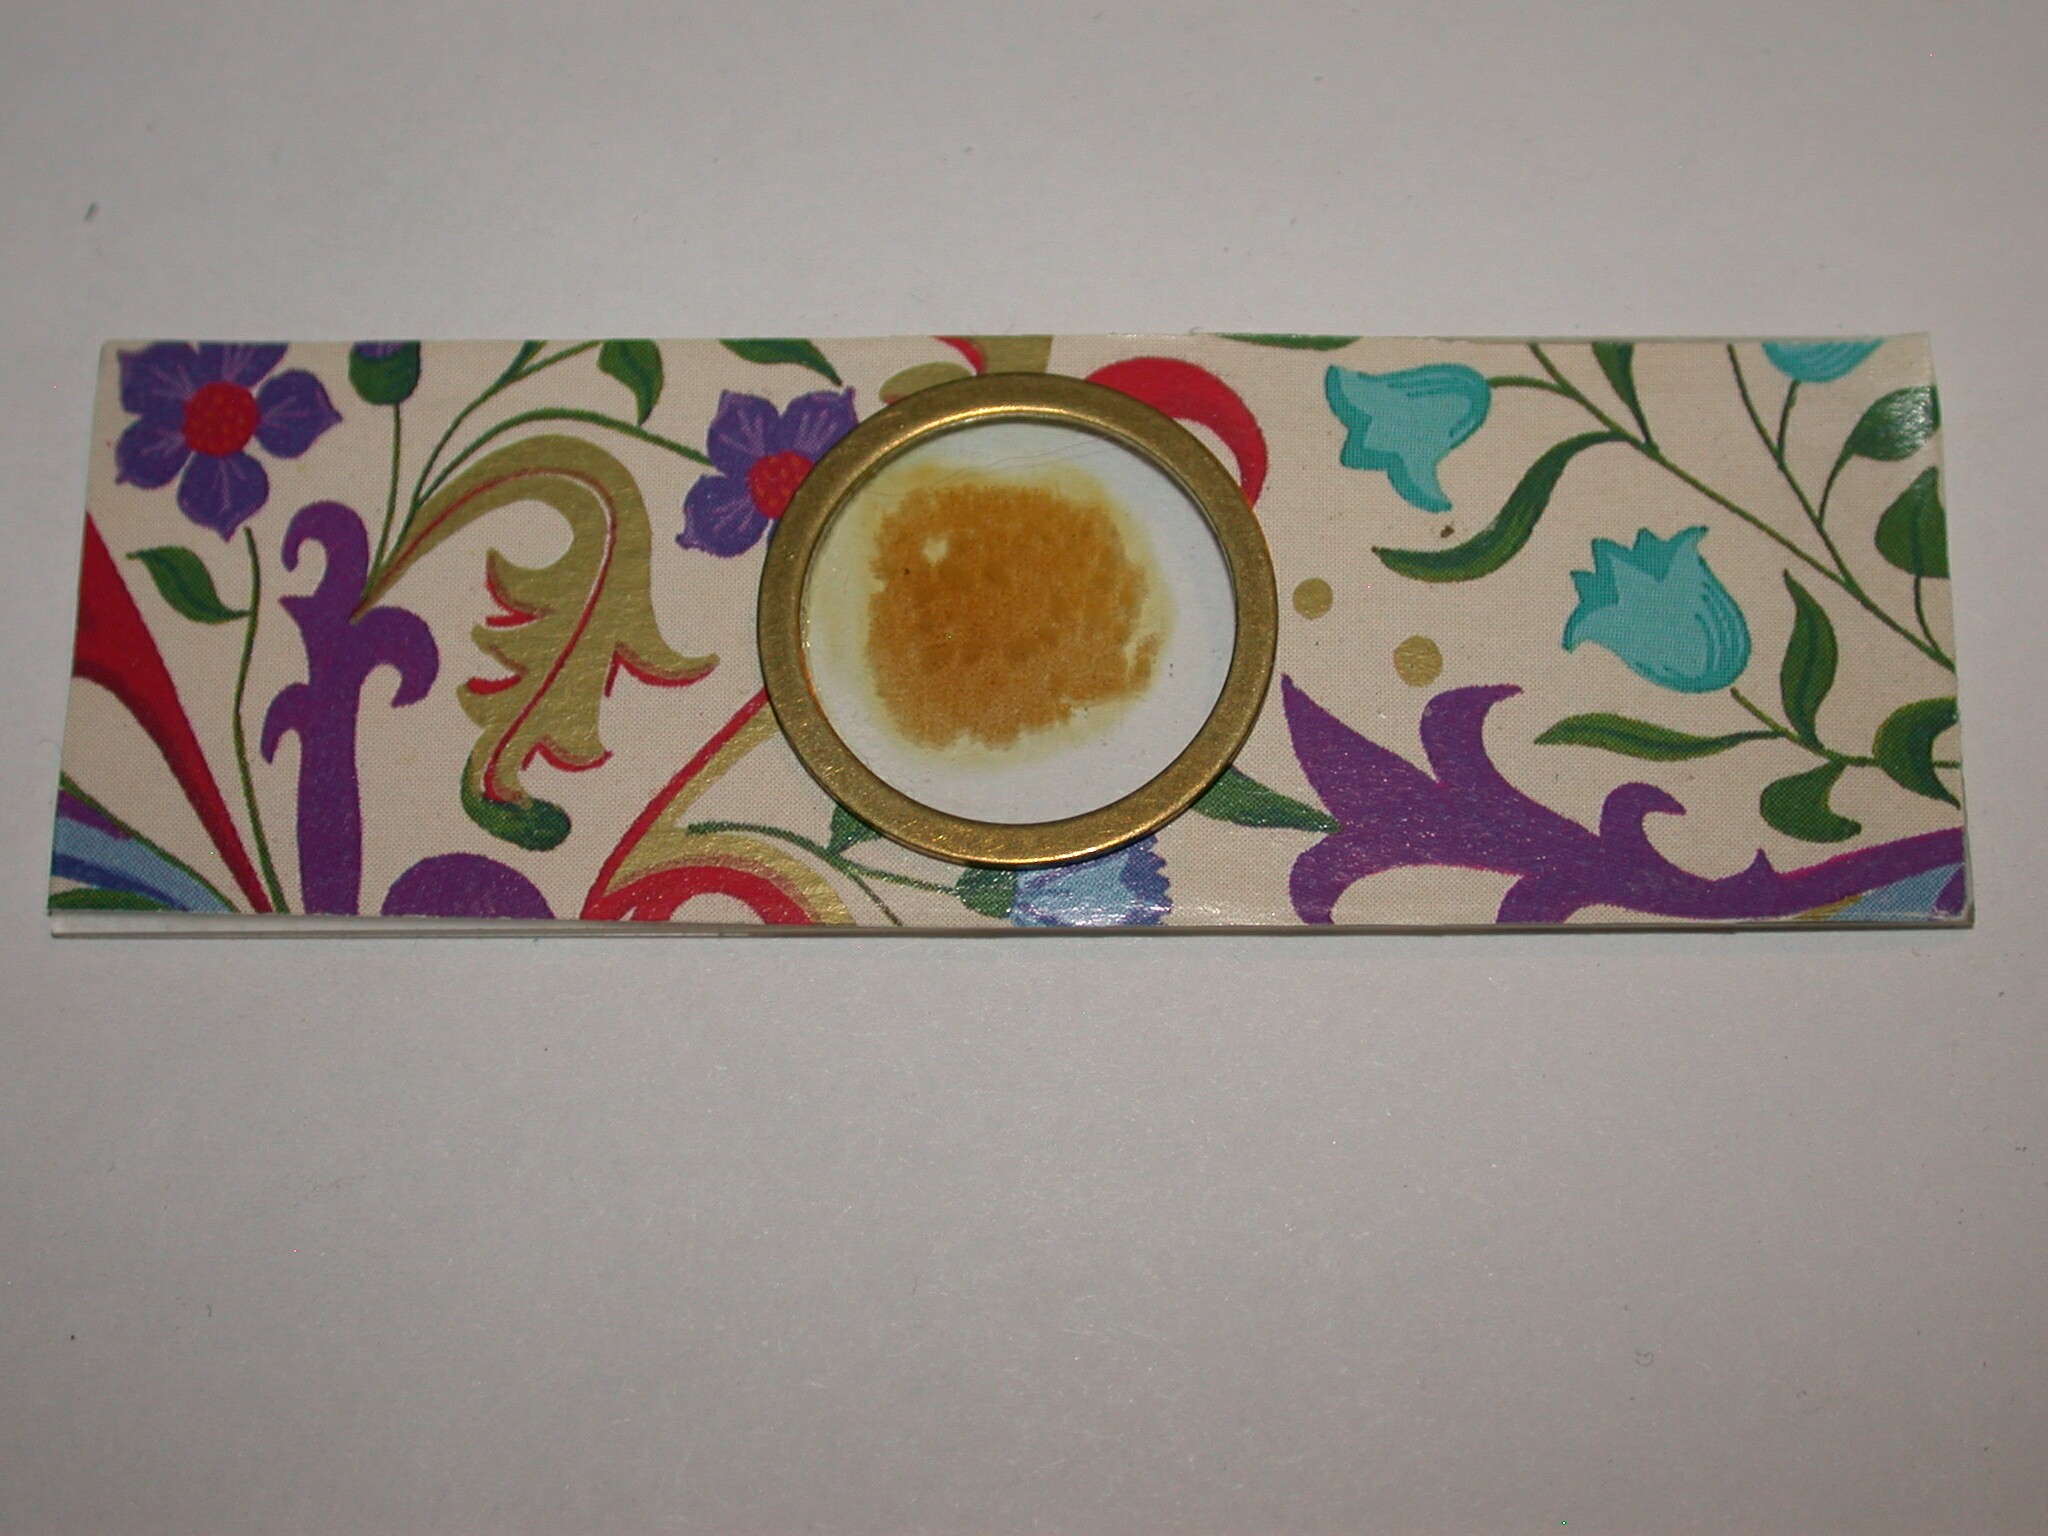
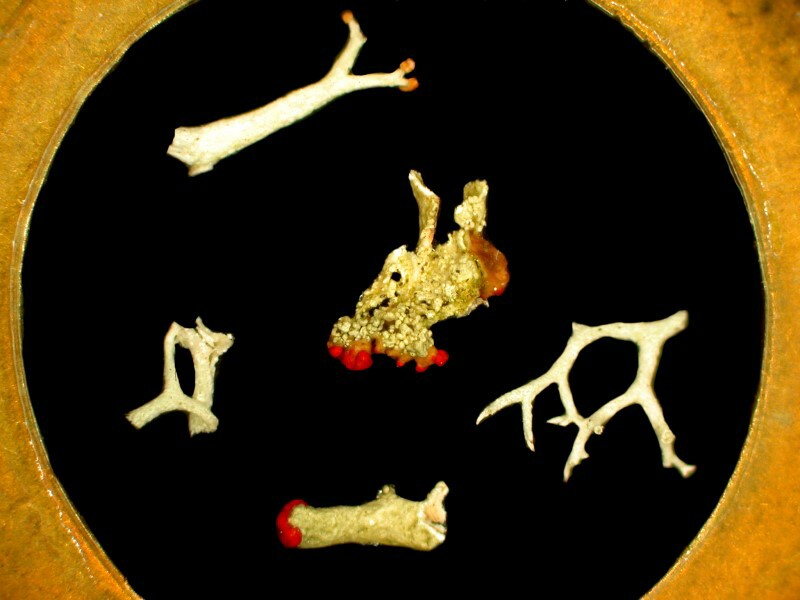
4) One of the joys of sorting through random plankton, debris, or sand samples is that one often encounters things one hasn’t seen before and some which one can’t definitely identify. This next slide mad from a sample from the Mediterranean is a case in point; the specimens here could be from a bryozoan, bits of coral, or fragments from a coralline alga. If any of you do know what it is, I would be most grateful to learn its identity.
5) Next are 2 “blanks” ready for specimens and each has 3 rings. The first uses rings of medium thickness and the second has very thin rings. The latter is suitable for mounting flat, thin forams, sections of butterfly wings, etc. whereas using the first one, clearly one could mount thicker specimens.
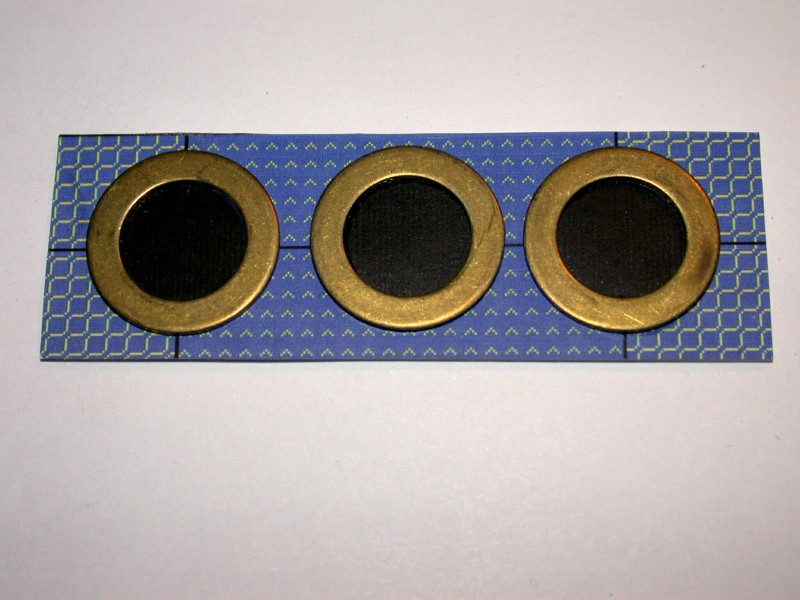
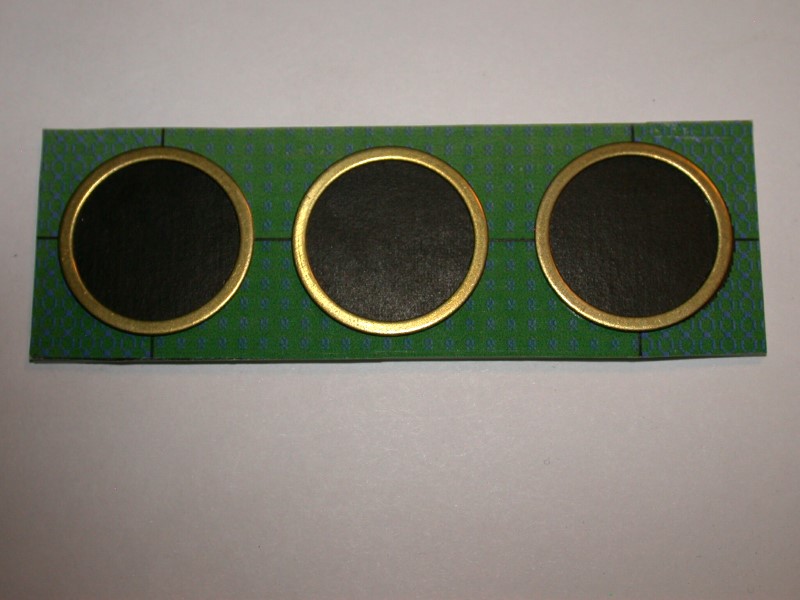
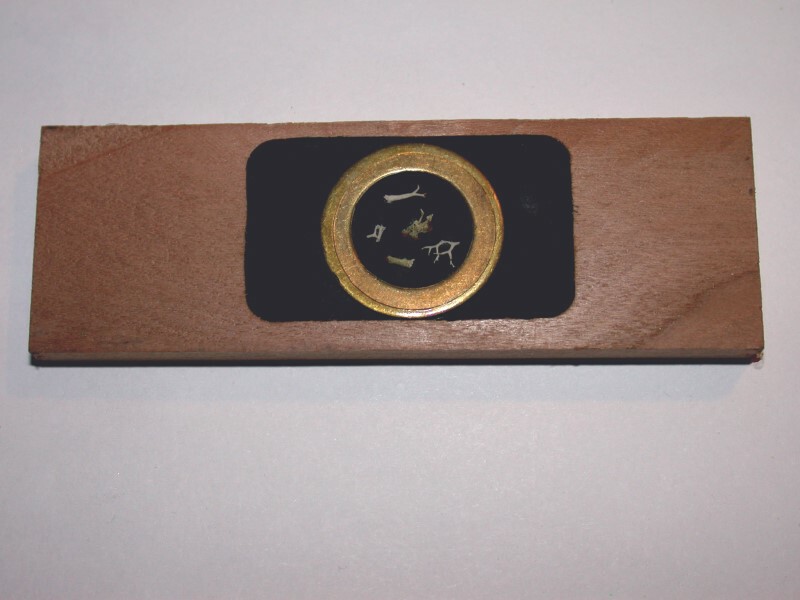
6) A wood slide with an area hollowed out by a router and then painted black. A medium thick brass ring was then glued into the center and the specimens, which are the unidentified ones I showed you above, were mounted in the cell and covered with a round cover glass.
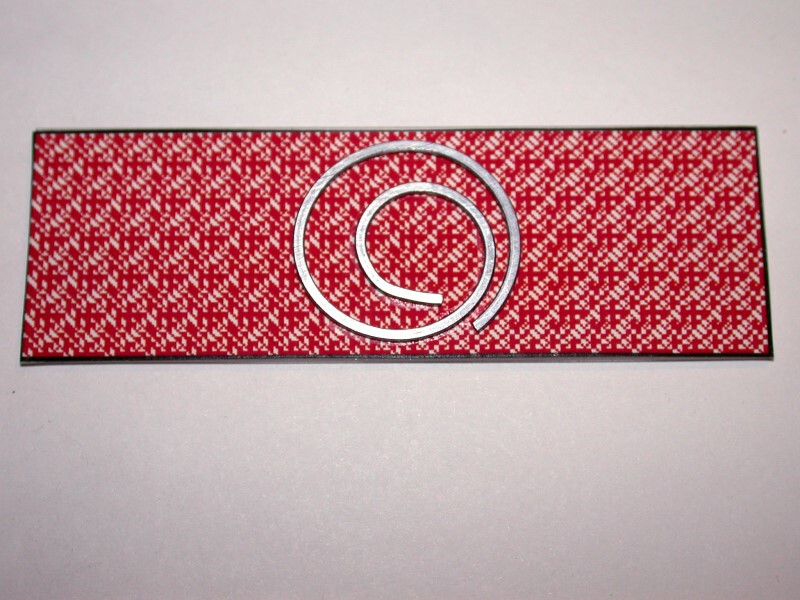
7) One day in a stationery store, I came across some Italian paper clips which were rather unusual and I thought perhaps I could used them on my slides. I bought a box of silver ones and a box of black ones. Here is a “blank” ready for mounting. I have used them to mount some thin forams following the path of the spiral. Clearly, because of the form, although I put on a circular cover glass, there is the risk of dust getting in through the opening. Nonetheless, I rather like them.
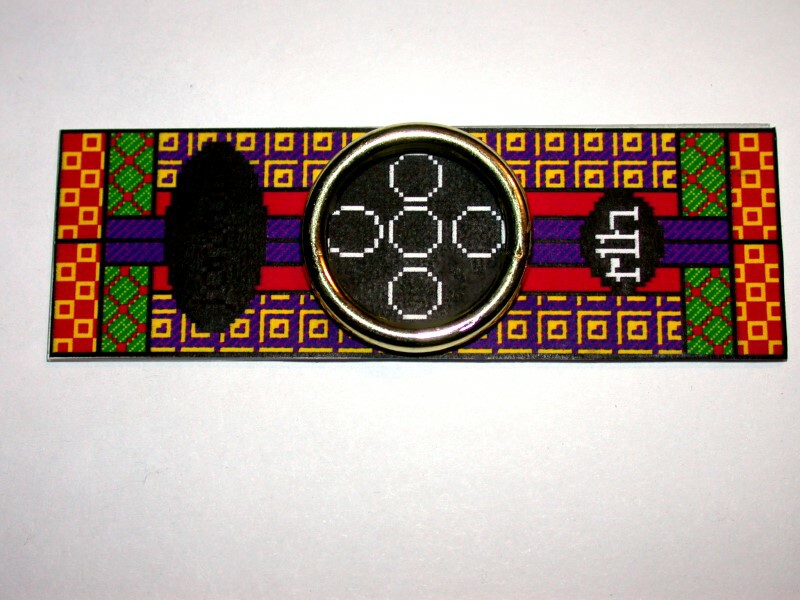
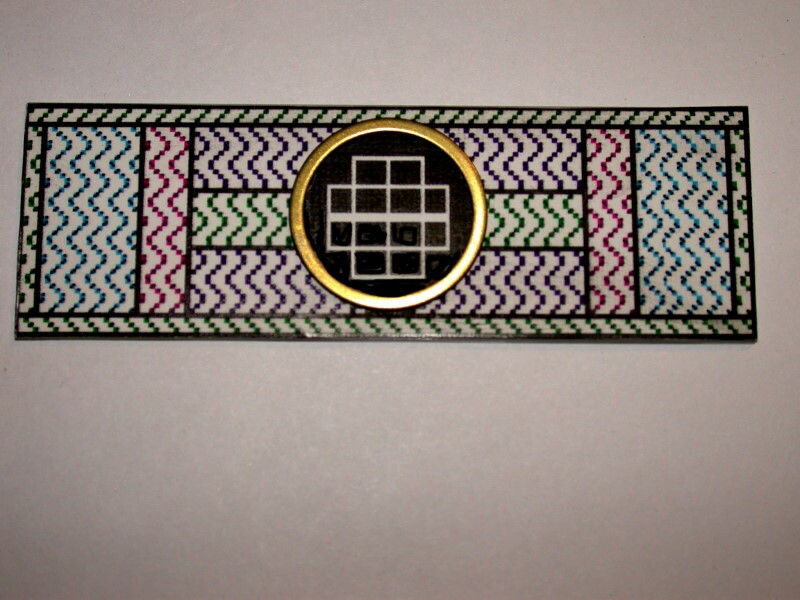
8) Finally, I want to show you 2 “blanks” with grids. The first has spaces for 5 specimens and the second for 12.
If you want to try your hand at making some papered slides, I recommend having a considerable block of time, a great deal of patience, and a cabinet well-stocked with fine single malt whiskies. One of the advantages of making your own mounts is that, by using a gel water-soluble glue, you can, if a cover glass gets damaged or comes off, replace it easily. If a specimen comes loose, such as a foram in an arrangement, it is usually possible, without too much difficulty to pry off the cover glass, re-glue the specimen and glue on a new cover. When I first started, I had 2 or 3 problems with cover glasses coming off, but since I have been using the gel and have learned how to apply in the right consistency, I have had no such difficulty and most of the slides were, as I mentioned, make at least 10 years ago. If you don’t want to make your own and want to buy some of mine, be prepared to pay prices to help me restock my single malt whiskey cabinet–after all, these are Neo-Victorian slides.
All comments to the author Richard Howey are welcomed.
Editor's note: Visit Richard Howey's new website at http://rhowey.googlepages.com/home where he plans to share aspects of his wide interests.
Microscopy UK Front
Page
Micscape
Magazine
Article
Library
© Microscopy UK or their contributors.
Published in the August 2015 edition of Micscape Magazine.
Please report any Web problems or offer general comments to the Micscape Editor .
Micscape is the on-line monthly magazine of the Microscopy UK website at Microscopy-UK .
©
Onview.net Ltd, Microscopy-UK, and all contributors 1995
onwards. All rights reserved.
Main site is at
www.microscopy-uk.org.uk .